You follow the recipe perfectly, yet your bakes fail. The problem isn’t the recipe; it’s the disconnect between the recipe’s ideal conditions and the unique thermal reality of your home oven. As an appliance technician, I can tell you that mastering baking comes from understanding your specific oven’s heat dynamics—its quirks, its hot spots, and how different materials interact with it. This guide decodes those variables, transforming you from a recipe-follower into a heat-controller.
It’s one of the most common frustrations in any kitchen: you follow a trusted recipe to the letter, set your oven to precisely 350°F, and use the exact timer specified. Yet, the result is a cake that’s gummy in the middle, cookies with burnt bottoms, or brownies that are dry and cakey. You blame the recipe, yourself, or the oven gods. The truth, from a technical standpoint, is that your oven is lying to you. And so is the recipe author’s oven, just in a different way.
The standard advice is to “buy an oven thermometer,” and while that’s a good first step, it only reveals the symptom, not the cause. It tells you the ambient air temperature in one spot, but it doesn’t tell you about the radiant heat blasting from the elements, the convection currents creating invisible hot spots, or the thermal inertia of your bakeware. Many home ovens are off by 15°F to 25°F or more, but that’s just the beginning of the story. True consistency doesn’t come from blindly trusting a number on a dial or a thermometer.
The real key to unlocking predictable, repeatable results is to stop thinking of your oven as a magic box and start treating it like the dynamic thermal system it is. It’s about understanding the physics of heat transfer—conduction, convection, and radiation—and learning to read the sensory cues your food gives you. This isn’t about memorizing more rules; it’s about understanding the fundamental principles of heat so you can adapt any recipe to your specific equipment.
This guide will walk you through the most common points of failure, explaining the engineering and physics behind them. We will diagnose your oven’s unique behavior, decode the language of different bakeware materials, and calibrate your most important tool: your own senses. By the end, you will understand not just what to do, but precisely why you’re doing it.
Table of Contents: Decoding Your Oven’s True Behavior
- Why You Must Rotate Your Tray Halfway Through Baking?
- How to Use the ‘Jiggle Test’ for Custards Instead of a Timer?
- Glass Dish vs. Metal Pan: How to Adjust Baking Time?
- The Mistake of Leaving Cookies on the Hot Tray After Removing from Oven
- When to Start Preheating: Is 10 Minutes Really Enough for a Pizza Stone?
- The ‘Peeking’ Mistake That Collapses Your Shells in Seconds
- The Toothpick Test Mistake That Leads to Dry, Overbaked Brownies
- Why Do Your Éclairs Deflate Immediately After Taking Them Out of the Oven?
Why You Must Rotate Your Tray Halfway Through Baking?
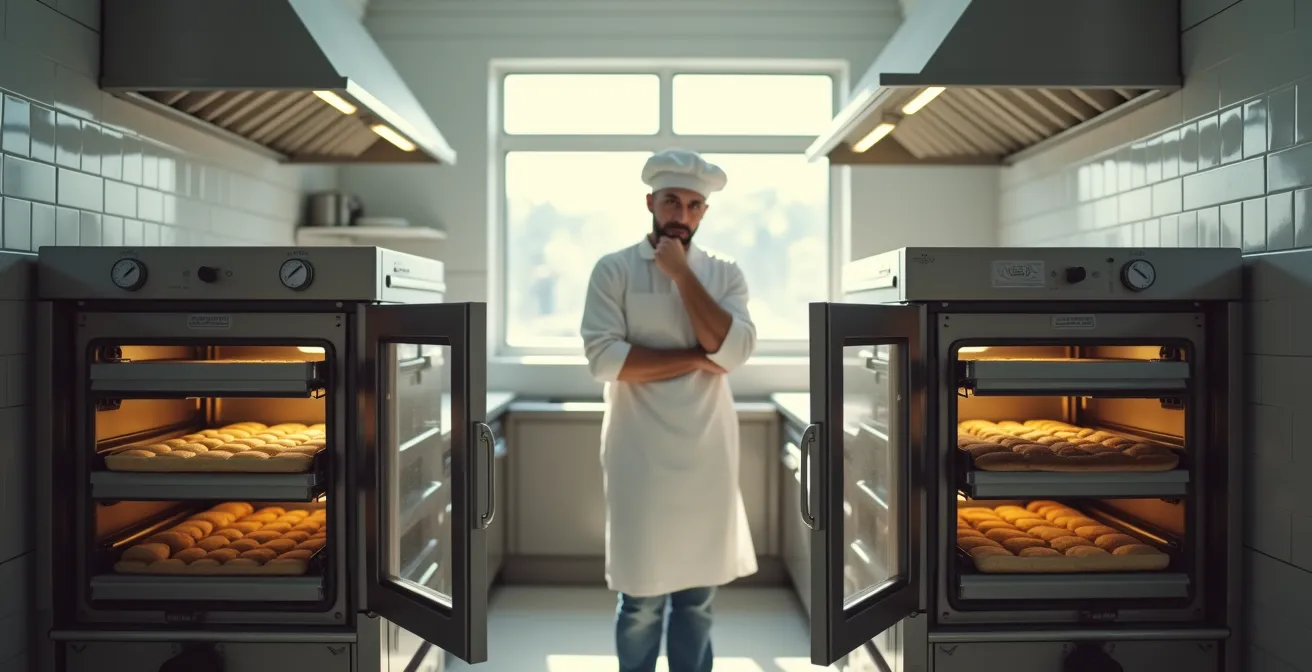
The single most common cause of uneven baking is the flawed assumption that your oven is a uniformly heated space. In reality, every oven has a unique pattern of heat dynamics, influenced by the location of heating elements, the efficiency of the convection fan (if any), and even the way air circulates around the oven walls. This creates predictable hot and cool spots. The back of the oven is often hotter because heat gets trapped there, and areas closer to the heating elements receive more intense radiant energy, causing faster browning.
Rotating your baking tray is not just a suggestion; it’s a necessary calibration maneuver. It physically relocates the food, ensuring that all sides are exposed to the different thermal zones within your oven for a roughly equal amount of time. This counteracts the tendency for the items in the back to over-bake while those in the front remain pale. Without this step, you are essentially baking at two different temperatures simultaneously on the same tray. For anyone serious about consistent results, mapping these hot spots is the first crucial diagnostic test.
Think of it as tire rotation for your car. You do it to ensure even wear. In baking, you do it to ensure even heat exposure. The “Toast Test” is a classic technician’s method for creating a visual map of your oven’s unique thermal signature. It’s a simple, inexpensive way to see exactly where your oven runs hot and where it runs cool, allowing you to work with your oven’s quirks instead of fighting against them.
Action Plan: Map Your Oven’s Hot Spots with the Toast Test
- Rack Position: Place an oven rack in the middle position, where you typically bake.
- Preheat and Stabilize: Preheat your oven to 350°F (177°C) and let it sit for an additional 15 minutes after the ‘ready’ beep to ensure it’s fully stabilized.
- Cover the Sheet: Cover a standard baking sheet completely with slices of basic white sandwich bread, edge to edge.
- Bake and Observe: Bake for 10-15 minutes without opening the door. Do not rotate the pan.
- Analyze the Map: Remove the sheet and analyze the results. The darker, more toasted slices indicate your oven’s hot spots. Lighter slices show the cool zones. Take a photo for future reference.
This simple map is now your most valuable piece of data. It tells you not only that you need to rotate, but how you might need to position your pans to mitigate the most extreme temperature differences from the start.
How to Use the ‘Jiggle Test’ for Custards Instead of a Timer?
Timers are a blunt instrument, especially for delicate preparations like custards, cheesecakes, and crème brûlée. These items are not “baked” in the traditional sense; they are set. The goal is to achieve protein coagulation without scrambling the eggs or driving out all the moisture. A recipe’s timer is an estimate based on the author’s oven, pan, and ingredient temperatures—variables that are guaranteed to be different in your kitchen. Relying on a timer alone is a primary cause of rubbery or curdled custards.
This is where “sensory calibration” becomes essential. The jiggle test is a tactile method for assessing the internal structure of the custard. When you gently shake the ramekin or pan, you are visually checking the state of coagulation. A perfectly set custard will be firm around the edges, but the very center (about a 1-2 inch circle) will still have a slight, localized wobble, almost like set Jell-O. This indicates the proteins have set enough to create structure, but the center retains enough residual heat to finish cooking gently outside the oven, resulting in a silky, smooth texture.
If the entire surface ripples with a liquid-like wave, it needs more time. If there is no jiggle at all, it’s already on its way to being overcooked and grainy. This visual and tactile feedback is infinitely more accurate than a timer because it reflects the food’s actual physical state, not an arbitrary duration.
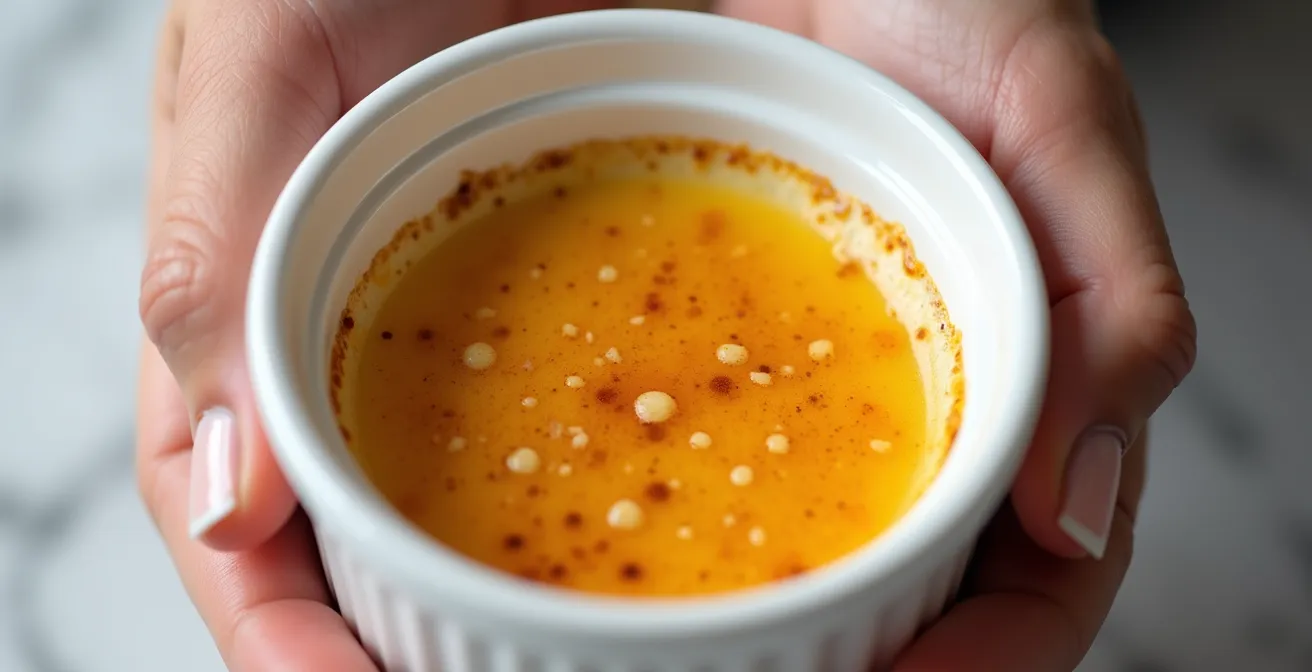
As you can see, the key is observing this specific type of movement. Mastering this technique means you can produce perfectly creamy custards every time, regardless of your oven’s temperature fluctuations or the recipe’s suggested bake time. It is a prime example of trusting sensory data over mechanical instructions.
This method of “baking by feel” is a hallmark of professional pastry chefs. It allows for the precise control needed for preparations where a minute or two can mean the difference between perfection and failure.
Glass Dish vs. Metal Pan: How to Adjust Baking Time?
The material of your bakeware is not a passive container; it’s an active participant in the baking process. The most significant difference is how materials handle heat, a property we can call thermal inertia. Metal pans, particularly those made of aluminum, are excellent heat conductors. They heat up quickly and cool down quickly. Glass or ceramic dishes are insulators. They take longer to heat up, but once hot, they retain that heat for a much longer time.
This difference in heat retention is critical. Because a glass dish holds onto heat so effectively, it will continue to cook the food aggressively even after you’ve lowered the oven temperature. This often leads to over-browned, dry, or even burnt edges and bottoms on things like brownies and casseroles, while the center struggles to catch up. Metal, by contrast, responds more quickly to changes in oven temperature, offering a more responsive baking environment.
Therefore, you cannot simply swap a glass dish for a metal pan without making adjustments. The standard professional protocol is not to change the time, but to change the temperature. When using a glass or ceramic baking dish, you should reduce the oven temperature by 25°F (about 15°C) from what the recipe calls for with a metal pan. This compensates for the glass’s aggressive heat retention, allowing the center to cook through before the edges become overdone. Failing to make this adjustment is a common source of baking failures that are often misdiagnosed as an oven problem.
The following table, based on an analysis of baking material properties, breaks down these key differences.
| Property | Glass/Ceramic | Metal |
|---|---|---|
| Heat Conductivity | Poor conductor | Excellent conductor |
| Heat Retention | Retains heat longer | Cools quickly |
| Infrared Emission | Excellent emitter | Variable by color/finish |
| Best For | Casseroles, cobblers | Cookies, brownie edges |
| Temperature Adjustment | Reduce by 25°F typically | Use recipe temperature |
Understanding this principle allows you to select the right tool for the job: metal for crisp edges and even browning, and glass for dishes that benefit from prolonged, steady heat, like a lasagna.
The Mistake of Leaving Cookies on the Hot Tray After Removing from Oven
One of the most deceptive moments in baking is when you pull a tray from the oven. The active heating from the oven elements has stopped, but the baking process is far from over. This is due to a phenomenon called carryover cooking. The baking sheet, having been heated to 350°F or more, is a reservoir of intense thermal energy. Leaving your cookies on this hot surface is equivalent to leaving them in the oven on a lower-temperature setting.
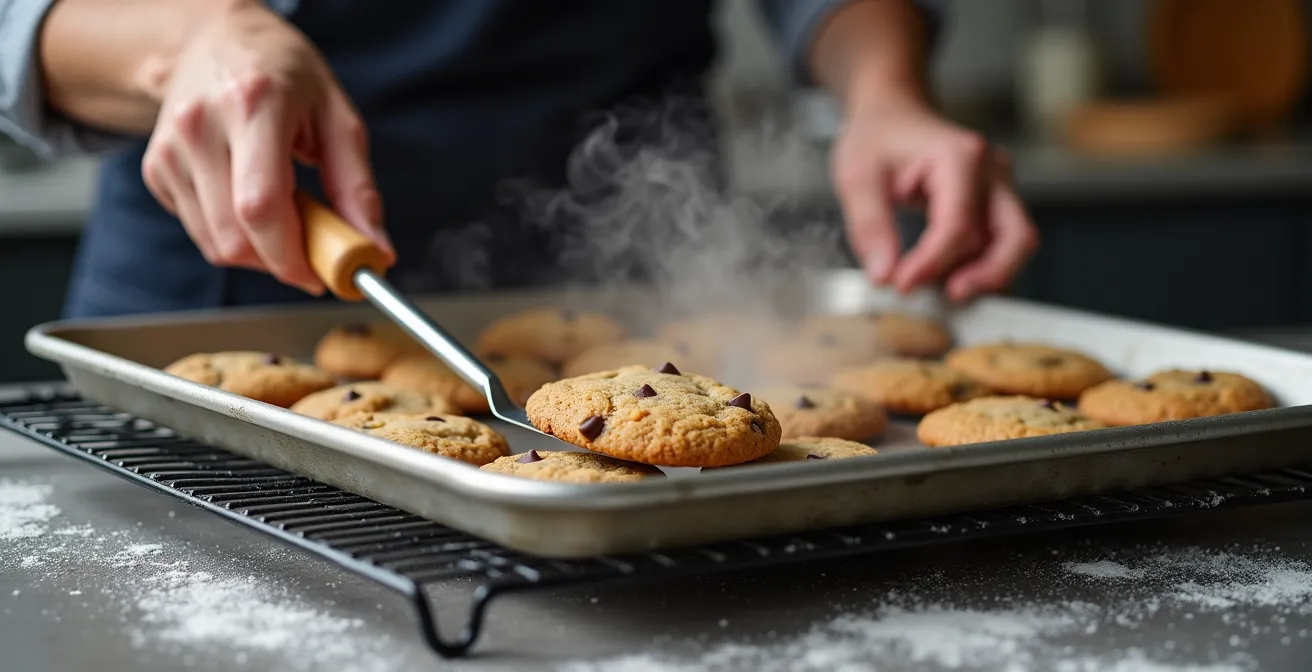
The metal continues to conduct heat directly into the base of the cookies, causing the bottoms to darken and the delicate internal structure to become dry and hard. According to baking science research, an additional 3-5 minutes of active baking continues on hot aluminum sheets after they’ve been removed from the oven. For a cookie that bakes for only 10-12 minutes, this represents a massive, uncontrolled extension of the bake time, and it’s the primary reason cookies that looked perfect in the oven end up like rocks on the cooling rack.
The correct procedure is to immediately transfer the cookies from the hot baking sheet to a wire cooling rack. The wire rack allows for air circulation on all sides of the cookie, halting the conductive heating from the bottom and allowing it to cool evenly. This single action is crucial for preserving the desired texture—a soft, chewy center with crisp edges.
This transfer isn’t an optional step; it is a critical part of managing the heat. By failing to account for carryover cooking, you are inadvertently over-baking your cookies every single time. It is an unwritten instruction in many recipes, but one that is absolutely essential for success.
The same principle applies to many other baked goods, from scones to thin cakes. Any time a food is baked on a high-conductivity pan, immediate removal is key to stopping the cooking process at the perfect moment.
When to Start Preheating: Is 10 Minutes Really Enough for a Pizza Stone?
The “preheat” function on your oven is one of its most misunderstood features. The “ready” beep does not signify that the oven has reached a stable, uniform temperature. It merely indicates that the ambient air at the sensor’s location has reached the target temperature. It says nothing about the temperature of the oven walls, racks, or, most importantly, any high-mass baking surfaces like a pizza stone or baking steel.
These tools work by storing a massive amount of thermal energy and transferring it directly to the dough via conduction. This powerful, sustained heat transfer is what creates the “oven spring” and crisp crust characteristic of professional pizza ovens. A standard 10-15 minute preheat is woefully inadequate to saturate a dense cordierite stone or steel slab with enough energy. Placing a pizza on a partially heated stone is a recipe for a soggy, disappointing crust.
From a thermal engineering perspective, these surfaces require a much longer “heat soak” to reach equilibrium with the oven’s target temperature. Testing shows that a standard half-inch cordierite pizza stone needs a minimum of 45-60 minutes of preheating at the oven’s maximum temperature (typically 500-550°F) to become fully saturated with heat. Thicker baking steels require even longer, often over an hour. The oven’s ready beep might go off in 15 minutes, but the stone’s surface may still be hundreds of degrees cooler than the air around it. Trusting the beep is a guarantee for failure.
The only reliable method is to allow for a proper heat-soak time and, for ultimate precision, to verify the surface temperature with an infrared thermometer. You are not just heating the air; you are charging a thermal battery. A fully charged battery delivers the power needed for a spectacular result. A partially charged one will always underperform.
This principle of accounting for thermal mass applies to more than just pizza stones. Heavy cast-iron pans, thick-walled Dutch ovens, and dense ceramic bakers all require additional preheating time beyond the oven’s signal to perform as intended.
The ‘Peeking’ Mistake That Collapses Your Shells in Seconds
Opening the oven door to check on your progress is one of the most tempting and most destructive habits in baking, especially for delicate, steam-leavened items like soufflés, choux pastry, or angel food cakes. The issue is not just a minor temperature dip; it’s a catastrophic loss of the precise thermal and atmospheric conditions required for the bake to succeed. When you open that door, you trigger two devastating events.
First, you create a massive heat shock. An oven door opened for just a few seconds can cause an immediate temperature drop of 25 to 50 degrees Fahrenheit, and thermal measurements show up to 15 degrees are lost in just a few seconds. While the oven will work to reheat itself, the damage is already done. For a cake or pastry that relies on a rapid, sustained burst of heat to create lift, this sudden temperature drop can halt the rising process in its tracks, leading to a dense, heavy final product. The recovery time is also significant, as noted by baking experts.
A domestic oven can take 5-15 minutes to return to its set temperature after being opened for just 10 seconds, a fatal delay for delicate baked goods.
– Professional Baking Institute, Advanced Pastry Techniques Manual
Second, and just as critical for steam-leavened goods, you release the humid atmosphere that has built up inside the oven. The initial high heat of baking causes water in the batter to turn into steam, which inflates the item. During this crucial inflation stage, the pastry’s structure is still soft and malleable. The rush of cool, dry air from your kitchen causes the internal steam to condense rapidly, and the fragile structure, not yet set by heat, collapses under its own weight. This is why a perfectly puffed choux pastry can deflate into a sad, flat disk in the blink of an eye. The oven light is your best friend; use it, and resist the urge to peek until the structure is visibly set and golden brown.
This rule is non-negotiable for any recipe that depends on oven spring for its volume and texture. Trust the process, trust the oven light, and keep the door closed.
The Toothpick Test Mistake That Leads to Dry, Overbaked Brownies
The toothpick test is a time-honored tradition, but it’s often misinterpreted, leading to one of the most common baking tragedies: dry, cakey brownies. The conventional wisdom is to bake until a toothpick inserted into the center comes out clean. For a cake, this is good advice. For a fudgy brownie, it is the kiss of death. A “clean” toothpick indicates that the brownie is already fully cooked through, and given the effects of carryover cooking, it will continue to bake on the counter, resulting in a dry, crumbly texture.
The goal for a perfect fudgy brownie is to pull it from the oven when it is slightly underdone in the very center. This is where a more nuanced application of the toothpick test is required. The key is not just what the toothpick shows, but *where* you insert it. Testing in the dead center is unreliable as it’s the very last part to cook. A far more accurate reading comes from inserting the toothpick halfway between the edge and the center of the pan.
Case Study: America’s Test Kitchen’s Refined Brownie Test
Through rigorous testing, America’s Test Kitchen developed a more precise method. Their protocol instructs bakers to “bake until a toothpick inserted halfway between the edge and center comes out with just a few moist crumbs attached.” If the toothpick emerges with wet, liquid batter, it needs more time. If it comes out with distinct, moist crumbs clinging to it, the brownie is at the perfect stage. This indicates the structure is mostly set, but the center is still gooey. The residual heat will finish the job.
This “moist crumbs” stage is the holy grail. It signals that you have successfully arrested the baking process at the peak of fudginess. Remember that thermal studies demonstrate that brownie centers can rise 5-10 degrees after removal from the oven. Pulling them when the toothpick is clean means they will ultimately be overbaked by that same margin. By aiming for moist crumbs, you are perfectly accounting for carryover cooking and guaranteeing a dense, chewy final product.
This refined approach transforms the toothpick from a simple done/not-done indicator into a sophisticated tool for calibrating texture.
Key Takeaways
- Your oven’s temperature is not uniform; hot spots are a default condition that must be managed by rotating pans.
- Sensory cues like the “jiggle test” are more reliable indicators of doneness for delicate items than a timer.
- The material of your bakeware (glass vs. metal) drastically affects heat transfer and requires temperature adjustments.
- Carryover cooking is a real, controllable phase of baking; food must be removed from hot pans to prevent over-baking.
Why Do Your Éclairs Deflate Immediately After Taking Them Out of the Oven?
The dramatic deflation of éclairs or other choux pastries upon removal from the oven is a classic and deeply frustrating problem. The root cause is almost always a failure to complete the second critical stage of choux baking: dehydration. Baking choux pastry is a two-part process. Stage one is “Inflation,” where the high initial heat turns moisture in the dough into steam, causing the pastry to puff up dramatically. Stage two is “Dehydration,” where the goal is to bake out enough moisture so the egg-and-flour structure becomes rigid and stable, capable of supporting itself.
Deflation is a sign of an incomplete structure. If you pull the choux from the oven when it is beautifully puffed and golden but the internal walls are still soft and damp, the structure cannot withstand the change in atmospheric pressure and temperature. The internal steam condenses, and the shell collapses on itself. You have built a beautiful balloon but failed to solidify it. The key is ensuring the pastry is not just browned, but thoroughly dried out and crisp.
To achieve this, professional bakers use a controlled drying technique right in the oven. Once the choux is fully puffed and a deep golden brown, they don’t just pull it out. They turn the oven off, prop the door ajar slightly with the handle of a wooden spoon, and let the pastries sit in the cooling oven for another 15-20 minutes. This allows the gentle, residual heat and dry air to complete the dehydration process slowly, setting the structure without further browning. Some even prick a small, invisible hole in the side of each éclair to allow trapped steam to escape, further ensuring a crisp, hollow shell.
- Bake until fully puffed and deep golden-brown.
- Turn the oven off completely.
- Prop the oven door ajar with a wooden spoon handle.
- Leave the éclairs in the cooling oven for 15-20 minutes to dry out.
- (Optional) Prick a small hole in the side of each shell with a skewer to release steam.
- Allow the shells to cool completely on a wire rack before filling.
By implementing this two-stage “inflate then dry” methodology, you give your éclairs the structural integrity they need to stand tall, ready to be filled. It’s a final, crucial step that separates amateur attempts from professional results.