The chewiness of a baked good is primarily determined by the controlled formation of a sugar-glass matrix, not just gluten development.
- Melted butter (a liquid fat emulsion) coats flour proteins more effectively than creamed butter (a solid fat foam), physically inhibiting gluten networks and promoting a denser structure.
- The choice of sugar and the application of shear force control the degree of sugar crystallization, directly influencing whether the final texture is chewy or crunchy.
Recommendation: To engineer a chewy texture, focus on fully dissolving your sugars in a liquid fat and controlling the cooling rate to manage both fat crystallization and starch retrogradation.
For the science-minded baker, the quest for the perfect chewy texture is a familiar obsession. We’ve all followed recipes to the letter, only to find our cookies emerge crisp instead of pliable, or our brownies cakey instead of fudgy. The common wisdom often points to a nebulous set of rules: use melted butter, don’t over-mix, add more brown sugar. While directionally correct, this advice fails to address the fundamental “why.” It treats baking like alchemy, when it is, in fact, a science of controlled chemical and physical reactions.
The discrepancy between results often lies in the microscopic interactions we can’t see. The state of your fat, the type of sugar, and the energy you introduce during mixing are not just steps in a recipe; they are variables in an equation that dictates the final molecular structure of your product. Understanding this equation is the key to reverse-engineering that perfect, bakery-quality chewiness. This isn’t about blindly following instructions; it’s about manipulating lipid emulsions, sugar solutions, and protein networks.
But what if the true secret to chewiness lies not in avoiding gluten, but in mastering the physics of sugar? What if “over-mixing” could, under the right circumstances, be the very technique that creates a superior, elastic core? This guide deconstructs the creation of “chew” at a molecular level. We will move beyond culinary myths to explore the science of fat phases, sugar crystallization, heat transfer, and post-bake transformations. By treating your kitchen as a laboratory, you can stop hoping for good results and start engineering them with precision.
This article provides a detailed scientific breakdown of the key variables that control texture. Each section dissects a specific mechanism, offering the molecular insights needed to master the art of chewiness.
Summary: Deconstructing the Science of Chewy Textures
- Why Does Over-Mixing Actually Help Create Chewiness in Brownies?
- How to Substitute Corn Syrup to Increase Chewiness in Cookies?
- Fridge vs. Counter Cooling: Which Sets the Crumb Denser?
- The 2-Minute Window That Turns ‘Chewy’ into ‘Crunchy’
- When is the Texture at its Peak: Day 1 or Day 2?
- Butter vs. Oil: Which Makes the Fudgiest Brownie Interior?
- How to Create a Perfect Elastic Core Using an Immersion Blender?
- Why Does Your 350°F Oven Bake Differently Than the Recipe Author’s Oven?
Why Does Over-Mixing Actually Help Create Chewiness in Brownies?
The conventional baking wisdom to “not over-mix” is rooted in the fear of developing gluten, the protein network that gives bread its structure and can make cakes tough. However, in high-fat, high-sugar systems like brownies, this rule becomes less relevant and can even be counterproductive. The goal in a chewy brownie is not a light, airy crumb, but a dense, fudgy matrix. Over-mixing, particularly after the fat and sugar are combined, contributes to this by creating a stable sugar-fat-water emulsion.
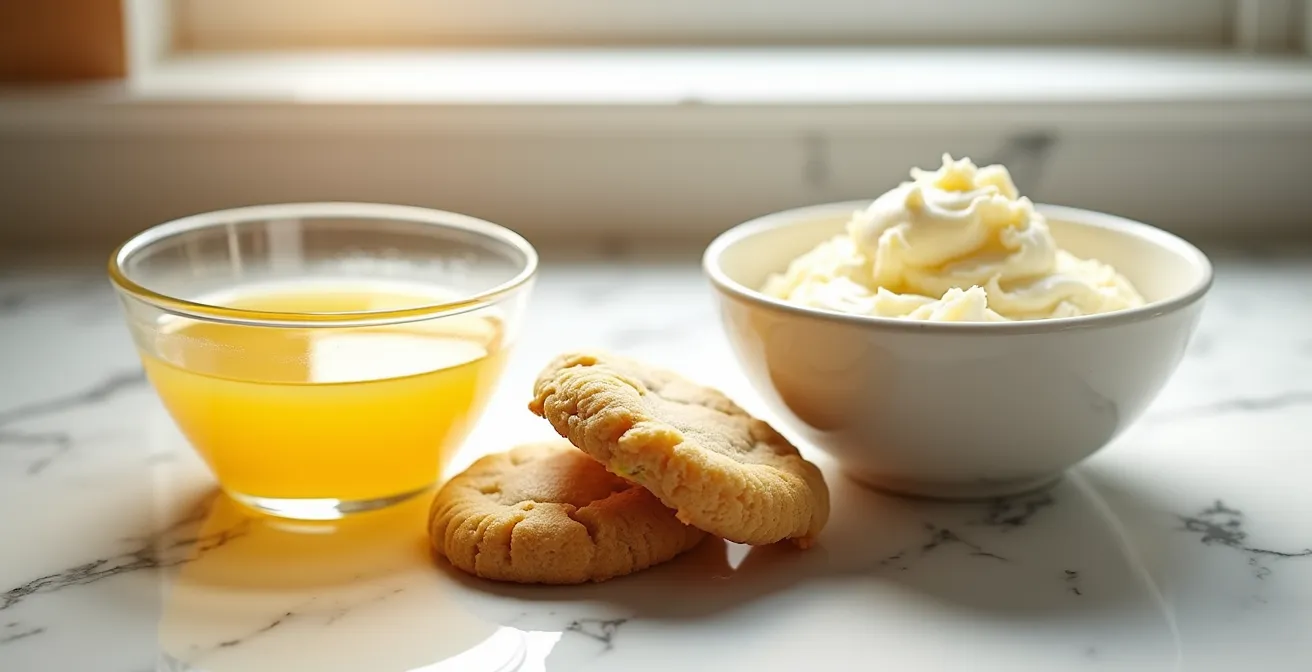
This paragraph introduces a concept complex. To better understand the transformation, it is useful to visualize its molecular components. The illustration below deconstructs this process from a grainy mixture to a glossy emulsion.

As this image shows, the vigorous mixing doesn’t primarily build gluten; it shears the sugar crystals, allowing them to dissolve completely into the limited water present (from eggs and butter). This creates a viscous, glossy batter that bakes into a “sugar-glass” structure. Furthermore, the high fat content, including the natural 10-20% fat content in cocoa powder, physically coats the flour particles, acting as a barrier that inhibits significant gluten formation. In this context, mixing isn’t creating toughness; it’s creating a homogenous, elastic liquid that solidifies into a perfect chew upon cooling.
How to Substitute Corn Syrup to Increase Chewiness in Cookies?
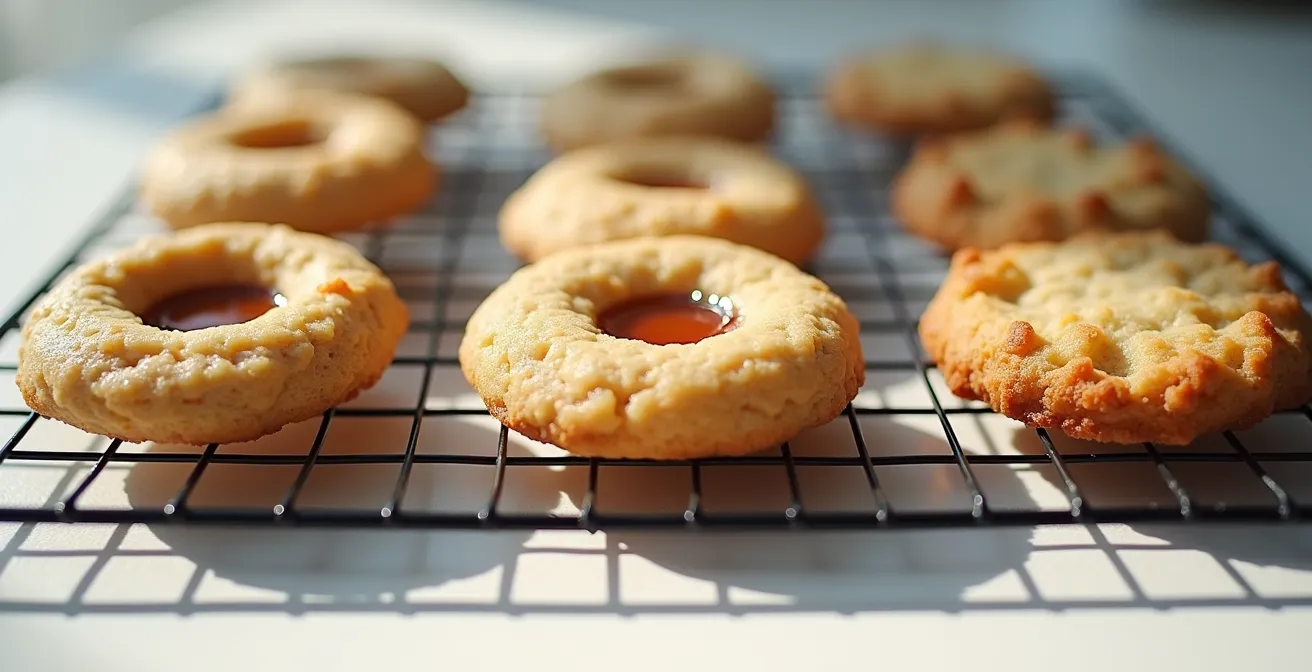
The final texture of a cookie is a direct function of sugar crystallization. Granulated sugar, or sucrose, readily forms large, structured crystals upon cooling, which results in a crisp, sandy texture. To achieve chewiness, a baker must disrupt or prevent this crystallization process. This is where different types of sugars, particularly invert sugars like corn syrup, become powerful tools of textural engineering. Brown sugar is a common choice for chewier cookies precisely because the molasses it contains is an invert sugar, which interferes with sucrose’s ability to crystallize.
However, for maximum, stable chewiness, a direct substitution with a liquid invert sugar like corn syrup is even more effective. Unlike granulated sugar, corn syrup is a mix of glucose, fructose, and other sugar chains that actively inhibit crystallization. They act as “roadblocks” in the sucrose crystal lattice, keeping the structure amorphous and pliable. The following table breaks down the molecular behavior of different sugars. As the comparative analysis of sugars demonstrates, controlling moisture and crystallization is paramount.
| Sugar Type | Moisture Level | Crystallization | Final Texture |
|---|---|---|---|
| Granulated Sugar | Low | Forms large crystals | Crispy edges |
| Brown Sugar | High (molasses) | Inhibited | Chewy center |
| Corn Syrup | Very High | Prevents crystallization | Permanently chewy |
| Honey | High | Minimal | Dense, chewy, faster browning |
By substituting a portion of the granulated sugar (e.g., 25%) with corn syrup, you are fundamentally altering the baked good’s final state from a crystalline solid to a more stable, non-crystalline “sugar glass.” This glass state traps residual moisture, ensuring a lasting, pliable chew that doesn’t turn crunchy the next day. This is the scientific principle behind the exceptional shelf-life and texture of many commercial bakery cookies.
Fridge vs. Counter Cooling: Which Sets the Crumb Denser?
The cooling phase is not a passive end to baking; it is an active stage of texture formation governed by two key processes: fat crystallization and starch retrogradation. The speed at which you cool a baked good like a brownie or cookie directly controls how these processes unfold, determining the final density and mouthfeel. The choice between the refrigerator and the counter is a choice between two distinct textural outcomes.
Counter cooling allows for a slow, gradual decrease in temperature. This gives the fat molecules (lipids) time to organize into larger, more stable crystal structures. This slower solidification results in a softer, less dense texture. In contrast, rapid cooling in a refrigerator—an act of “shocking” the system—forces the lipids to solidify quickly into a micro-crystalline, disorganized state. This creates a much denser, fudgier texture. As temperature testing demonstrates, butter’s physical state changes dramatically; it is fully solid at refrigerator temperatures (around 35°F / 2°C) but plastic and malleable at room temperature (68-72°F / 20-22°C). This rapid transition to a solid state traps the sugar-syrup matrix, preventing it from becoming airy.
Professional Two-Stage Cooling Technique
Many professional bakeries employ a hybrid method to maximize density without creating a gummy texture. They first cool brownies at room temperature for 20-30 minutes. This allows initial steam to escape and prevents the formation of a dense, wet layer at the bottom. Then, they transfer the brownies to the refrigerator. This second stage rapidly sets the fat crystals, achieving the sought-after ultra-dense, fudgy core while leveraging the principles of both starch retrogradation and controlled fat solidification for optimal texture.
Simultaneously, starch retrogradation occurs as the baked good cools. Starch molecules, which were gelatinized and amorphous when hot, begin to realign into a more ordered, crystalline structure, firming up the crumb. Rapid cooling accelerates this process, contributing further to a denser final product. Therefore, for maximum density, a strategic combination of brief counter cooling followed by refrigeration is the scientifically optimal path.
The 2-Minute Window That Turns ‘Chewy’ into ‘Crunchy’
The precise moment a cookie is removed from the oven is arguably the most critical variable in determining its final texture. The difference between a permanently chewy center and a uniformly crunchy disc is often a window of less than two minutes. This is due to a phenomenon known as carryover cooking, where the residual heat stored in the baking pan continues to cook the item even after it has left the oven’s direct heat source.
To achieve a chewy texture, cookies must be removed when their centers are still visibly underdone and glossy. During these first few minutes on the hot pan, the center continues to bake, setting the proteins and sugars just enough to be stable but not enough to fully crystallize. Pulling them too late means the center bakes completely in the oven, and carryover cooking then pushes the entire structure into a dry, crystalline, crunchy state. The duration of this critical window is heavily influenced by the baking pan itself. As the experts at King Arthur Baking note in their analysis of pastry science:
A dark, heavy-gauge aluminum sheet retains more heat, shortening the window. A thin, light-colored sheet cools faster, lengthening it.
– King Arthur Baking experts, Why does butter temperature matter in pastry
This illustrates that the pan is not merely a vessel but an active part of the heat-transfer system. A baker aiming for precision must account for their equipment’s thermal properties to master this brief but decisive textural window.
The transformation from underbaked to perfectly chewy to crunchy is a rapid continuum. Understanding that the process doesn’t stop upon exiting the oven is the first step. The second is learning to “read” your specific oven and pan combination to know exactly when to intervene, capturing the texture at its peak potential.
When is the Texture at its Peak: Day 1 or Day 2?
While the aroma of a freshly baked cookie is irresistible, its texture is often not yet at its peak. The 24 to 48 hours following baking are a dynamic period of molecular change, where moisture migration and starch retrogradation continue to refine the internal structure. For many chewy baked goods, particularly cookies and brownies, the textural experience on Day 2 is scientifically superior to that on Day 0.
Immediately after cooling, a moisture gradient exists within the cookie. The edges are drier and more caramelized, while the center retains more water. Over the next 24 hours, this moisture migrates from the high-concentration center towards the lower-concentration edges. This process, driven by osmosis, creates a more homogenous and uniformly chewy texture throughout the entire cookie. The crisp edge softens slightly, and the center becomes less “doughy” and more cohesively fudgy. This is why extensive testing reveals that many cookies reach their peak taste and texture 1-2 days after baking.
Concurrently, starch retrogradation continues to progress. The starch molecules, which were gelatinized during baking, slowly re-form crystalline structures. A moderate degree of retrogradation contributes to a pleasant, firm chewiness. If left for too many days or refrigerated, this process can advance too far, leading to a dry, stale texture as the starch crystals tighten and push out water. Storing the baked goods in an airtight container is crucial during this period to prevent moisture loss to the environment, which would accelerate staling and counteract the benefits of internal moisture migration. Therefore, Day 2 often represents the perfect equilibrium: moisture has been evenly distributed, and starch retrogradation has contributed to structure without causing dryness.
Butter vs. Oil: Which Makes the Fudgiest Brownie Interior?
The choice between butter and oil is one of the most impactful decisions in formulating a brownie recipe, as it directly determines the final texture. While butter provides a desirable flavor, oil is scientifically superior for creating a dense, fudgy interior. The reason lies in their fundamental composition. As compositional analysis shows, standard butter is an emulsion of roughly 80% fat and 20% water and milk solids. Oil, in contrast, is 100% fat.
This 20% water content in butter is a critical variable. When introduced into a brownie batter, this water hydrates the flour’s proteins, promoting the formation of gluten. Even a small amount of gluten development will create a more open, aerated, and “cake-like” structure. Oil, being pure fat, introduces no extra water. It works by a different mechanism: it coats the flour particles completely, creating a hydrophobic barrier. This barrier physically prevents the water from the other ingredients (like eggs) from fully hydrating the flour, thereby inhibiting gluten formation far more effectively than butter.
Comparative Analysis: Oil vs. Butter in Gluten-Free Brownies
In gluten-free brownie formulations where flour proteins are less of a factor, testing reveals oil’s superiority in creating a fudgy texture. The 100% fat content of oil ensures a richer mouthfeel and contributes to a denser crumb structure. Because it remains liquid at room temperature, it produces a moister, more “gooey” final product compared to butter, which solidifies upon cooling and can create a firmer, more truffle-like texture. For maximum fudginess, oil provides a more consistent and dense result by minimizing aeration and maximizing fat content.
The result is a denser, tighter crumb. Melted butter behaves similarly to oil by coating flour, but its inherent water content still provides a slight leavening and structural effect. For the ultimate fudgy texture, where the goal is to minimize gluten and maximize density, oil is the more effective lipid. A common professional technique is to use a combination: oil for texture and a small amount of browned butter for its nutty flavor, striking a balance between molecular function and sensory appeal.
How to Create a Perfect Elastic Core Using an Immersion Blender?
Achieving a truly elastic, truffle-like core in a brownie or blondie requires more than just the right ingredients; it demands the right application of physical energy. An immersion blender introduces an immense amount of shear force into a batter, fundamentally altering its molecular structure in a way that simple hand-mixing cannot. This high-shear environment is the key to creating an exceptionally fine and stable emulsion.
When you combine melted fat, sugar, and eggs, you are creating an emulsion of fat droplets suspended in a water-based sugar solution. An immersion blender’s blades, moving at thousands of RPM, violently break down these components into microscopic particles. As noted by food scientists, this process has a profound effect on the mixture. According to an analysis on brownie chemistry:
An immersion blender’s high shear force violently breaks down fat and sugar particles, creating an extremely stable and fine emulsion.
– Food Science Research, Cakey vs. Gooey Brownies – The Science
This ultra-fine emulsion has two major benefits. First, it ensures the sugar is completely dissolved, which is essential for the glossy crust and chewy texture. Any undissolved sugar crystals will result in a grainy texture. Second, the microscopic fat droplets become perfectly and evenly distributed, coating every other particle in the batter. This creates an incredibly smooth, homogenous mixture that bakes into a dense, even crumb with a distinct elastic pull, similar to ganache. Famed pastry chef David Lebovitz utilizes a similar principle, advocating for vigorously beating brownie batter to achieve this same smooth, grain-free, and elastic result.
Key Takeaways
- Chewiness is a result of a controlled, amorphous “sugar-glass” matrix, not an accident of mixing.
- The physical state of fat (liquid melted butter vs. solid creamed butter) dictates its ability to inhibit gluten and influences spread.
- Controlling cooling rates manages both fat crystallization and starch retrogradation, allowing you to engineer the final density of the crumb.
Why Does Your 350°F Oven Bake Differently Than the Recipe Author’s Oven?
Even with a perfect understanding of food science, a baker’s results can be thwarted by one final, crucial variable: the oven itself. The 350°F (177°C) setting on your dial is an approximation, not a guarantee. Home ovens are notoriously inaccurate, with actual temperatures often varying by 25-50°F (15-30°C) from the set point. Furthermore, heat is not distributed evenly; ovens have hot spots and cool spots, and the type of heat (convection vs. conventional) drastically changes how energy is transferred to the food.
This discrepancy is why a recipe that works perfectly for its author can fail in your kitchen. A 25°F difference is enough to turn a chewy cookie into a crisp one or to prevent the Maillard reaction that gives baked goods their characteristic brown crust and complex flavor. The recipe author has calibrated their instructions for their specific thermal environment. To replicate their results, you must first understand and then calibrate your own. This requires moving beyond the oven dial and using precise measurement tools to map your oven’s unique thermal signature. An infrared thermometer can measure the exact surface temperature of your baking stone or pan, while an oven thermometer can measure the ambient air temperature in different locations.
Mastering your oven is the final step in taking control of your baking. It bridges the gap between following a recipe and truly understanding how to execute it. By identifying hot spots, knowing the true ambient temperature, and understanding how convection affects cooking times, you can adjust any recipe to suit your specific equipment, ensuring consistent, predictable, and scientifically sound results every time.
Your Oven Calibration Action Plan
- Identify Thermal Variables: Place an oven thermometer in the center of your oven. Preheat to 350°F (177°C) and wait 20 minutes. Record the actual temperature. This is your baseline variance.
- Measure Actual Surface Temperatures: Use an infrared thermometer to measure the temperature of a baking sheet or stone placed on the middle rack. Compare this to the ambient temperature to understand how your bakeware heats.
- Map the Oven’s Thermal Profile: Move the oven thermometer to all four corners and the back and front of the middle rack, noting the temperature at each point to identify hot and cool spots.
- Test and Adjust for Environmental Factors: If using convection, reduce the recipe’s temperature by 25°F (15°C) and check for doneness 25% earlier as a starting point. Note how altitude or ambient humidity (e.g., by adding a pan of water) affects your results.
- Create a Personalized Baking Protocol: Based on your findings, create a personal “offset” for your oven (e.g., “I need to set my oven to 375°F to achieve a true 350°F”). Document your oven’s hot spots to inform pan rotation.
By approaching your oven not as a black box but as a piece of scientific equipment to be calibrated, you gain the final layer of control necessary to engineer texture with repeatable success. Start today by investing in a reliable oven thermometer and begin the process of truly knowing your most important baking tool.