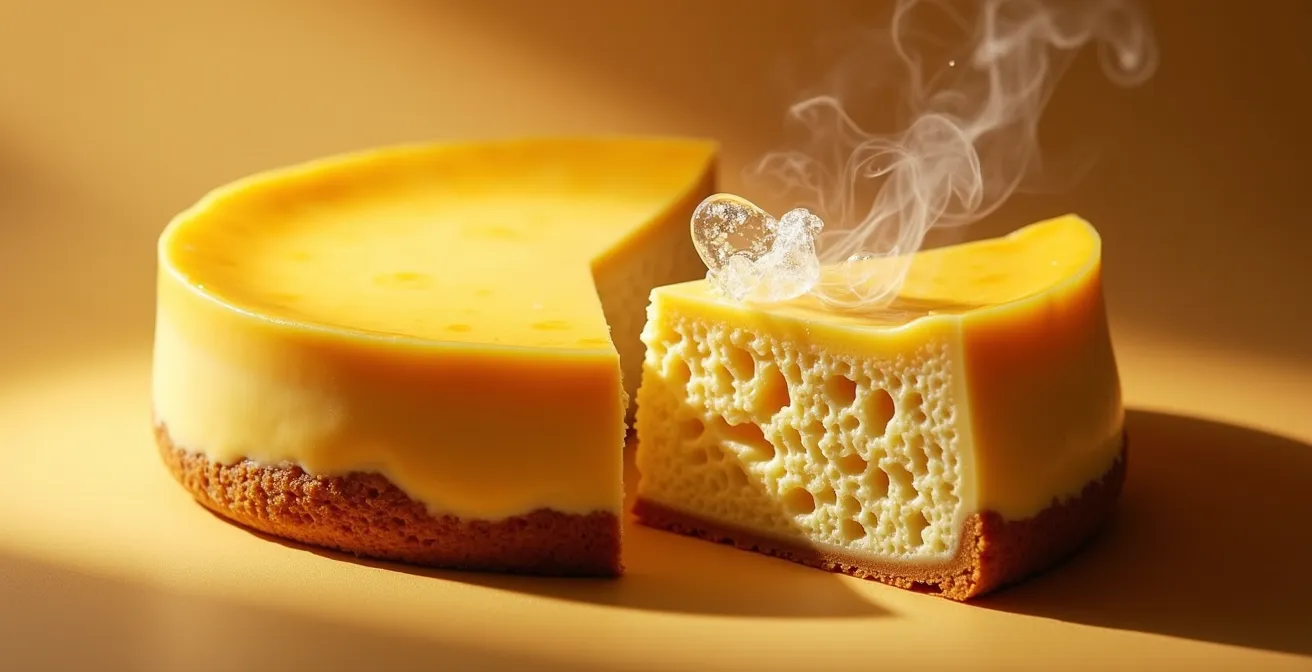
You followed the recipe, but your attempt at a lighter cheesecake resulted in a soupy, grainy mess. The problem isn’t just that low-fat cream cheese has more water; it’s a catastrophic failure of food science. Full-fat cream cheese creates a robust architectural scaffolding with its fat globules, forming a stable emulsion that traps water and protein. Low-fat versions lack this essential structure, causing the emulsion to break under stress and release water, a process called syneresis, leading to the dreaded cracked and weeping dessert.
It’s a familiar and frustrating scenario for any health-conscious baker. You swap full-fat cream cheese for its “lighter” counterpart, hoping to shave off a few calories from a decadent chocolate cheesecake. The batter looks a bit thin, but you press on. Hours later, you pull a culinary disaster from the oven: a cracked, weeping, and tragically soupy cheesecake with a grainy texture. You followed the directions, so what went wrong? The common advice is simply that “low-fat has more water,” but this barely scratches the surface of the complex science at play.
The success or failure of your cheesecake is decided at a microscopic level. It’s a delicate dance between fat, protein, and water, creating what food scientists call a fat-protein emulsion. This isn’t just about ingredients; it’s about building a stable structure. While many focus on techniques like water baths or avoiding cracks, they often overlook the non-negotiable foundation of the entire dessert: the fat content of the cream cheese itself.
But what if the key to a perfect cheesecake wasn’t just following steps, but understanding the architectural role fat plays? The truth is, the fat globules in cream cheese are not just for flavor and richness; they are the primary structural engineers of your dessert. This guide, from the perspective of a dairy technologist, will deconstruct the science. We’ll explore why stabilizers are added, how temperature affects the fat’s workability, and why even the order you add your eggs can make or break the entire structure. By understanding this, you’ll see why a low-fat substitution is doomed from the start and learn how to control the variables for a flawlessly creamy and dense cheesecake every time.
This article breaks down the essential science and techniques for achieving a perfect cheesecake. Explore the topics below to master the chemistry behind this classic dessert.
Summary: The Science of a Flawless Cheesecake
- Why Does Commercial Cream Cheese Contain Carob Bean Gum?
- How to Soften Cream Cheese in 10 Minutes Without Melting It?
- Generic vs. Brand Name: Is the Higher Water Content Worth the Savings?
- The ‘Cold Cheese’ Mistake That Leaves Lumps in Your Batter
- When to Add Eggs to the Cheese Mix to Prevent Curdling?
- Cocoa Powder vs. Melted Chocolate: Which Makes a Denser Cheesecake?
- Gelatin vs. Agar-Agar: Which Gives the Creamiest Mousse Texture?
- How to Bake a Chocolate Cheesecake Without a Water Bath and Avoid Cracks?
Why Does Commercial Cream Cheese Contain Carob Bean Gum?
When you see carob bean gum (also known as locust bean gum) or other stabilizers on a cream cheese label, it’s not a filler; it’s a crucial water management tool. Cream cheese is an oil-in-water emulsion, where tiny fat globules are suspended in water with the help of milk proteins. This structure is inherently unstable. Over time, or when stressed, the water can “weep” out—a process called syneresis. This is precisely what happens when your low-fat cheesecake turns soupy.
Stabilizers like carob bean gum are hydrocolloids, meaning they are long-chain molecules that love water. When added to cream cheese, they form a microscopic, invisible net that traps free water molecules, preventing them from pooling together and separating from the cheese. This ensures a smooth, uniform texture on the shelf and provides a buffer against structural collapse during baking. A scientific study on acidified cream cheese explored how these stabilizers directly combat syneresis by reinforcing the aqueous phase of the emulsion. The presence of these gums creates a much more forgiving product.
The FDA strictly regulates this. For a product to be labeled “cream cheese,” it must adhere to specific standards, and up to 0.5% of the total weight can be stabilizers like carob bean gum. This small amount works synergistically with the fat and protein to create the thick, spreadable consistency we expect. Without it, the cream cheese would be far more prone to breaking and becoming watery, especially lower-fat versions that have less fat to maintain the emulsion’s integrity.
How to Soften Cream Cheese in 10 Minutes Without Melting It?
The goal of softening cream cheese is not to make it warm, but to make the milk fat within it pliable. Fat that is too cold is brittle and shatters when mixed, creating lumps. Fat that is melted has lost its ability to form a stable emulsion. The ideal state is “plasticization,” where the fat is soft enough to be shaped and blended smoothly with other ingredients. For dairy fat, scientific studies show the ideal temperature range for workability is 68-70°F (20-21°C)—precisely room temperature.
Microwaving is the fastest way to ruin your cream cheese. It creates hot spots that exceed the melting point of milk fat, permanently breaking the emulsion. Once broken, it can never be fully restored, resulting in a greasy, separated batter. A much safer and quicker method than simply leaving it on the counter for hours involves increasing the surface area and using a gentle, controlled heat source.
Here is a science-based method for safely softening cream cheese:
- Cut it up: Cut the cold cream cheese blocks into small, 1-inch cubes. This dramatically increases the surface area exposed to room temperature air, speeding up the process.
- Use a warm water bath: For a 10-minute solution, place the foil-wrapped blocks of cream cheese in a bowl of warm (not hot) water—around 100°F (38°C) is perfect. This temperature is warm enough to soften the fat without melting it.
- Test for readiness: The cheese is ready when you can press an indent into it easily, but it still feels solid and cool, not liquid or greasy to the touch.
This controlled softening ensures the fat globules are ready to be smoothly incorporated, forming the foundation of a creamy, homogenous cheesecake batter.
Generic vs. Brand Name: Is the Higher Water Content Worth the Savings?
When you reach for a generic or store-brand cream cheese, the lower price often comes at a hidden cost: a higher moisture content and lower fat percentage. While premium brands like Philadelphia are known for their high fat content (typically at or above the 33% minimum fat required by the FDA), many budget-friendly or “light” versions sit closer to 15-20% fat and have a moisture content exceeding 60%. This seemingly small difference is the single most important factor in the structural integrity of a baked cheesecake.
Think of the fat globules as the bricks and the protein as the mortar in your cheesecake’s structure. More bricks (fat) create a stronger, denser, and more stable wall. When you reduce the fat, you have fewer bricks, and the structure must rely more on the mortar and the added stabilizers to hold back a flood of water. This fragile system is easily overwhelmed during baking, leading to a weak, soft set and the dreaded syneresis.
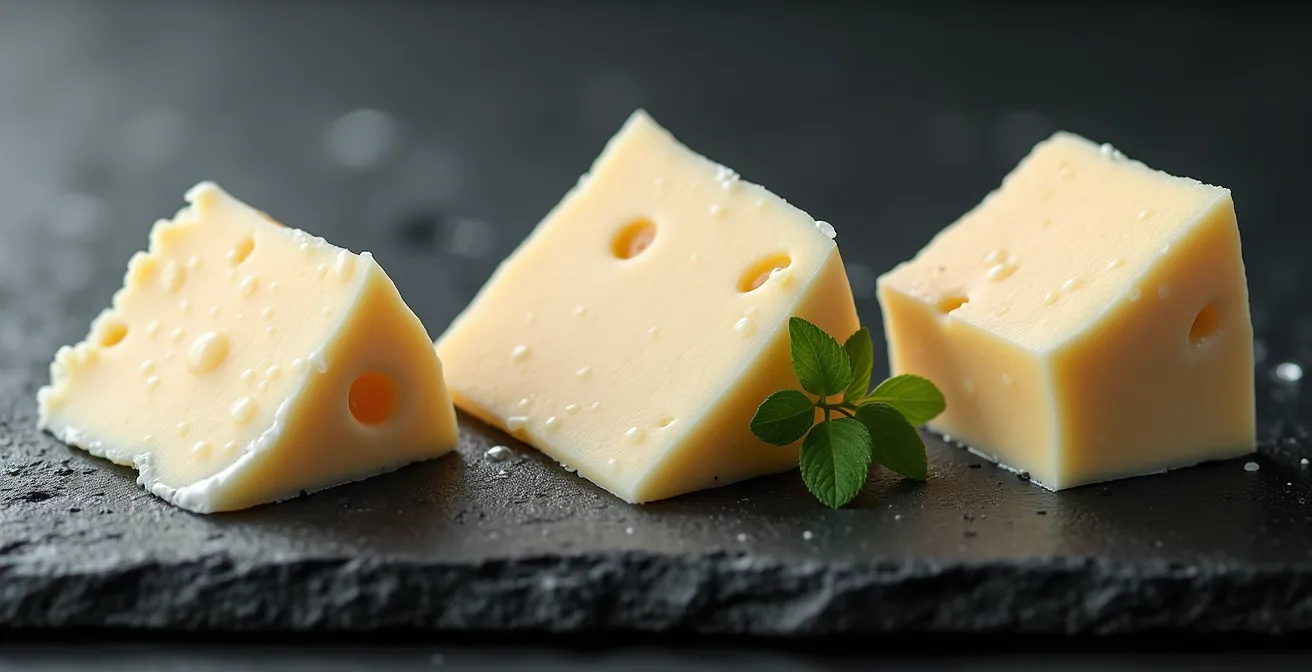
The image below illustrates the microscopic difference. A high-fat cream cheese has a dense, tightly packed network of fat globules. A low-fat version has a looser structure with more visible water, held in place only by a delicate web of protein and gums.
This table breaks down the typical compositional differences. Low-fat versions not only have less fat but often rely on multiple types of gums and even starches to try and replicate the texture that fat naturally provides. In the high heat of an oven, these substitutes often fail.
| Brand Type | Minimum Fat Content | Maximum Moisture | Common Stabilizers |
|---|---|---|---|
| FDA Standard (Premium) | 33% | 55% | Carob bean gum, xanthan gum |
| Canadian Standard | 30% | 55% | Xanthan/carob bean/guar gums |
| Low-fat versions | 16.5-20% | 60-65% | Multiple gums, modified starch |
The ‘Cold Cheese’ Mistake That Leaves Lumps in Your Batter
The most common cause of a lumpy cheesecake batter is a simple temperature error: starting with cold cream cheese. As explained earlier, the fat in cold cream cheese is hard and brittle. When you try to beat it with sugar, it doesn’t cream smoothly. Instead, it shatters into tiny, stubborn pellets of fat. These cold fat pockets are hydrophobic—they repel the water-based ingredients like eggs and sour cream that are added later.
No amount of subsequent mixing will fully break down these lumps. In fact, trying to do so leads to the second cardinal sin of cheesecake making: overmixing. As you desperately beat the batter to eliminate the lumps, you’re incorporating too much air and, more importantly, applying excessive shear stress to the fat and protein emulsion. This can cause the delicate structure to break, leading to a grainy texture and increasing the risk of the cheesecake cracking as the air bubbles rise and collapse during baking. Extensive testing by professional bakers confirms that achieving a lump-free batter is nearly impossible if the cheese isn’t at room temperature from the start.
The solution requires patience and thinking ahead, as noted by food science researchers. As the team at Dickinson College’s Chemistry in the Kitchen blog states:
It is critical to begin with room-temperature cream cheese when making cheesecake. Being at room temperature softens and blends the cream cheese more easily with the other ingredients, resulting in a smooth, creamy texture. Furthermore, the eggs and other ingredients should also be at room temperature. This ensures that all of the ingredients combine evenly, resulting in a consistent texture throughout the cheesecake.
– Chemistry in the Kitchen researchers, Dickinson College Food Science Blog
Bringing all your dairy and eggs to a uniform room temperature ensures they emulsify together seamlessly, creating a homogenous, velvety batter with minimal mixing.
When to Add Eggs to the Cheese Mix to Prevent Curdling?
Eggs are essential for a cheesecake’s rich, custardy texture, but they are also the most delicate ingredient. They contain proteins that coagulate (or “cook”) when heated or subjected to excessive agitation. Adding them at the wrong time or mixing them too aggressively is the fastest way to a curdled, weeping cheesecake. The key is to add the eggs last, and to mix them as little as possible.
The correct sequence is designed to build a stable base before introducing the fragile eggs. First, you beat the room-temperature cream cheese and sugar until perfectly smooth. This creates the foundational fat emulsion. Next, you gently mix in other liquids like sour cream and vanilla on low speed. Only when this base is completely smooth and homogenous should you add the eggs. This ensures you won’t need to over-mix later to get rid of lumps.
When adding the eggs, the mixer should be on its lowest speed. This minimizes the amount of air being whipped into the batter, which prevents the cheesecake from puffing up dramatically and then cracking as it cools. The goal is to just incorporate the eggs, not to aerate them. Many professional bakers even recommend a final gentle stir by hand to ensure everything is combined without risking over-mixing. A good rule of thumb for structure is using the golden ratio of one egg per 8 oz of cream cheese.
Action Plan: The Professional Mixing Sequence
- Build the Base: Beat room-temperature cream cheese and sugar on medium speed for 2-3 minutes until absolutely no lumps remain. Scrape the bowl.
- Add Liquids: On low speed, add sour cream and flavorings (like vanilla). Mix only until just combined. Do not overbeat.
- Incorporate Eggs Gently: Reduce the mixer to its lowest possible speed. Add eggs one at a time, mixing for only a few seconds after each addition until the yolk disappears.
- Minimal Final Mix: Stop the mixer immediately after the last egg is incorporated. Scrape the sides and bottom of the bowl one last time.
- Hand Finish: Give the batter a final, gentle fold with a spatula to ensure consistency, then stop. The batter is now ready.
Cocoa Powder vs. Melted Chocolate: Which Makes a Denser Cheesecake?
The choice between cocoa powder and melted chocolate isn’t just about flavor; it’s a structural decision that fundamentally alters the density and texture of your cheesecake. The answer lies in their composition: cocoa powder is primarily dry cocoa solids and starch, while melted chocolate contains a significant amount of cocoa butter (fat) and sugar.
For a denser, more intensely chocolate-flavored, and slightly drier cheesecake, use cocoa powder. Cocoa powder is hygroscopic, meaning it absorbs moisture. Its high starch content helps to bind free water in the batter, contributing to a firmer, more cake-like set. Because it contains very little fat, it doesn’t add to the creaminess, but instead enhances the density provided by the cream cheese and eggs.
For a richer, fudgier, and creamier cheesecake, use melted chocolate. The extra cocoa butter in melted chocolate integrates with the milk fat from the cream cheese, creating an even more robust and decadent fat-based structure. This results in a softer, smoother mouthfeel that melts more luxuriously on the tongue. However, the added sugar and fat can make the cheesecake slightly less stable, so proper baking and cooling are even more critical.

This comparative table highlights the key differences and their direct impact on the final texture of the cheesecake.
| Component | Cocoa Powder | Melted Dark Chocolate (70%) | Effect on Cheesecake |
|---|---|---|---|
| Cocoa Solids | 80-90% | 35-40% | More solids = drier, more intense flavor |
| Cocoa Butter (Fat) | 10-12% | 35-40% | More fat = richer, fudgier texture |
| Sugar | 0% | 25-30% | Affects sweetness and moisture |
| Starch Content | 8-10% | 2-3% | Absorbs liquid, creates firmer set |
Gelatin vs. Agar-Agar: Which Gives the Creamiest Mousse Texture?
While baked cheesecakes rely on egg and fat coagulation for their structure, no-bake cheesecakes and mousses require a different kind of structural agent: a gelling agent. The two most common are gelatin (an animal protein) and agar-agar (a plant-based polysaccharide). Though they both create gels, they produce vastly different textures, primarily due to their melting points.
Gelatin is the key to a creamy, melt-in-your-mouth texture. It creates a very tender gel that melts at or near body temperature. As the Dietetics Academy explains, the critical difference in mouthfeel comes from melting points: gelatin’s is around 77-95°F (25-35°C), while agar-agar’s is much higher at 185°F (85°C). This means a gelatin-set dessert literally melts on your tongue, releasing flavor and creating a sensation of luxurious creaminess. It’s the standard for classic mousse and light no-bake cheesecakes.
Agar-agar, on the other hand, creates a much firmer, more brittle gel. Because its melting point is so high, it does not melt in the mouth. This results in a texture that is perceived as less creamy and more “clean-cutting” or even slightly crumbly. It provides a much stronger set than gelatin—about eight times stronger—so a little goes a long way. It is an excellent vegan substitute but cannot replicate the signature creamy mouthfeel of a gelatin-based dessert. Hydrocolloids like agar-agar are often combined with others to achieve specific textures, a principle that applies across many food preparations. As experts note:
When combined with carrageenan or xanthan, locust bean gum helps create the perfect texture in flans, puddings, and fruit preparations, providing body and a clean ‘bite.’
– Dietetics Academy, Food Science Hydrocolloid Guide
For the ultimate creamy texture in a no-bake application, gelatin is the superior choice due to its unique thermal properties. Agar-agar provides stability but at the cost of that signature melt-in-your-mouth feel.
Key Takeaways
- Fat is structure: The fat globules in full-fat cream cheese form an essential emulsion that low-fat versions cannot replicate.
- Temperature is non-negotiable: All dairy and eggs must be at room temperature (68-70°F) for a smooth, lump-free emulsion.
- Mix with intention: Overmixing incorporates excess air and breaks the protein structure, leading to cracks and a grainy texture. Add eggs last and mix minimally.
How to Bake a Chocolate Cheesecake Without a Water Bath and Avoid Cracks?
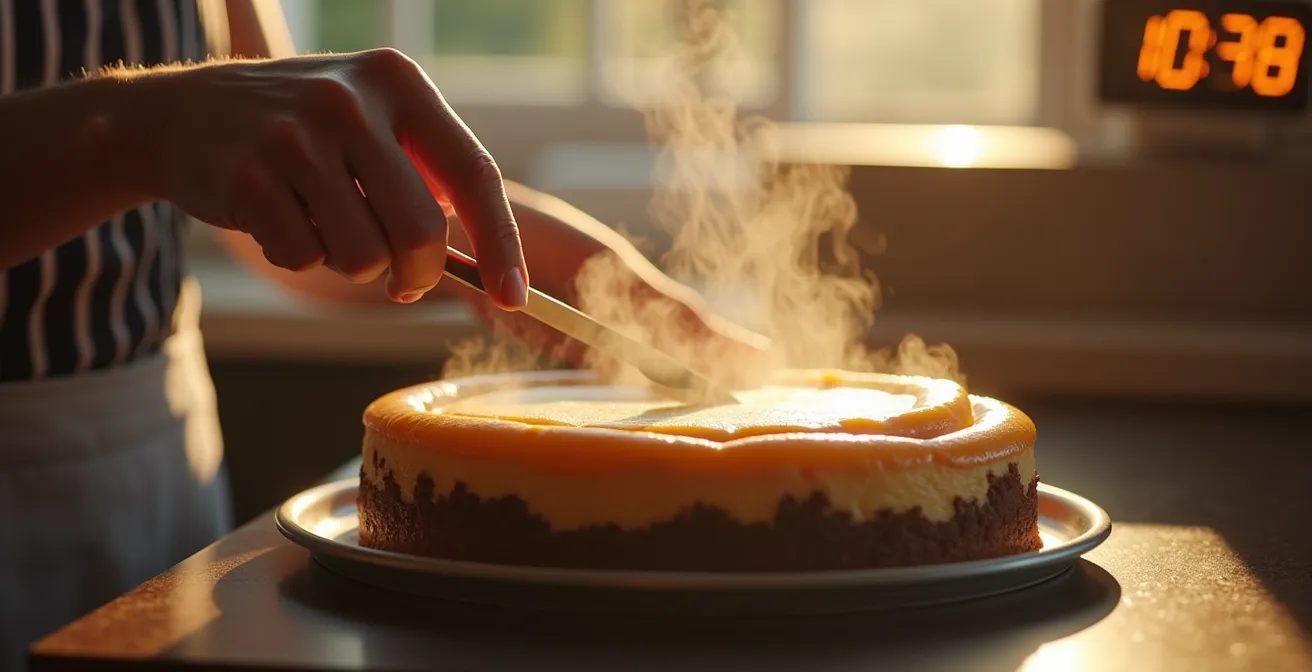
The dreaded water bath (bain-marie) is used for one reason: to create a gentle, humid heat that prevents the cheesecake from baking too quickly and drying out. A rapid temperature change causes the eggs in the outer edge to set much faster than the center, creating stress that results in a giant crack. However, you can achieve a flawless, crack-free cheesecake without the hassle of a water bath by controlling the temperature throughout the entire baking and cooling process.
The secret is low and slow. By baking at a lower temperature—around 325°F (160°C)—and introducing steam into the oven separately, you can mimic the gentle environment of a water bath. Placing a pan of boiling water on the rack below the cheesecake creates a humid atmosphere that promotes even baking. The cheesecake is done when the edges are set but the center 2-3 inches still jiggles like Jell-O. This residual heat will continue to cook the center as it cools.
The cooling process is just as important as the baking. A sudden drop in temperature will cause the cheesecake to contract too quickly and crack. The cooling must be done in gradual stages to allow the structure to set and relax slowly. This involves turning the oven off and cracking the door, followed by a slow cool on the countertop before refrigeration. Running a knife around the edge as soon as it comes out of the oven is also vital, as it releases the cake from the pan sides, preventing it from tearing as it inevitably shrinks.
This meticulous, multi-stage cooling protocol is the key to avoiding cracks without a water bath:
- Bake at 325°F (160°C) with a pan of water on a lower rack for 50-70 minutes.
- Turn the oven off and crack the door open. Let the cheesecake sit in the cooling oven for 10 minutes.
- Remove from the oven, run a knife around the edge, and cool on the stovetop (a warm spot) for 1 hour.
- Move to a counter and cool completely to room temperature for at least 2 hours.
- Refrigerate for a minimum of 6 hours, or preferably overnight, to fully set before serving.
Ultimately, a perfect cheesecake is a triumph of food science. It’s not about magic or secret family recipes, but about understanding the architectural role of fat, the delicate nature of proteins, and the critical importance of temperature control. By embracing the science behind the ingredients, you move from simply following a recipe to truly controlling the outcome. You now know that the fat in your cream cheese is the foundation of your dessert’s structure, and compromising on it is not a shortcut, but a recipe for failure.