In summary:
- Your hands aren’t too warm; your technique is wrong. Rolling truffles between your palms transfers maximum heat and creates misshapen results.
- Mastery comes from thermal control: understanding the precise temperature difference between a chilled center and your hands.
- The secret is a “minimalist touch” technique, using only the cool, cocoa-dusted pads of your fingertips to shape the sphere.
- Ingredient choices (butter vs. coconut oil) and storage methods directly impact the truffle’s structural integrity and resistance to melting.
The frustration is universal. You’ve created a luscious, silky chocolate ganache, chilled it dutifully, and scooped it into promising little mounds. But the moment you begin to roll, disaster strikes. The ganache becomes sticky, soft, and yields a collection of lumpy, misshapen rocks instead of the elegant spheres you envisioned. The common advice—work quickly, keep your hands cold, use a melon baller—only addresses symptoms, not the root cause. Many aspiring chocolatiers give up, believing they simply have “hot hands” or lack the necessary talent.
This is incorrect. The ability to roll a perfect truffle is not an innate gift; it is a learned motor skill rooted in a fundamental understanding of physics. The core problem is uncontrolled heat transfer. According to the Library of Congress, the science behind chocolate’s magic reveals that its cocoa butter crystals begin to melt between 86°F and 90°F, well below human body temperature. Rolling ganache between your palms is the most inefficient method possible, maximizing surface contact and heat exchange.
This guide will fundamentally reframe your approach. We will move beyond generic tips and into the realm of a pastry instructor’s methodology. The secret isn’t speed; it’s thermal control and minimalist touch. You will learn to manage temperature differentials, understand how different fats create different crystalline structures, and apply techniques that protect your creations from heat, odors, and even the rigors of transport. We will dissect every stage of the process, transforming your technique from haphazard to precise, ensuring your truffles are as perfect in form as they are in flavor.
To achieve this level of mastery, we will deconstruct the process into precise, manageable lessons. This guide explores everything from the foundational rolling technique to the science of ganache composition and the logistics of professional presentation.
Summary: Mastering the Art and Science of Chocolate Truffles
- Why Is Unsweetened Cocoa Powder Essential for the Truffle’s Finish?
- How to Thinly Coat a Soft Truffle Center Without It Collapsing?
- Butter vs. Coconut Oil: Which Truffle Texture Melts Faster?
- The Fridge Mistake That Makes Your Truffles Absorb Onion Odors
- What Box Size Prevents Truffles from Rolling During Transport?
- How to Choose the Right Fluidity Percentage for Dipping Strawberries?
- Oat Milk vs. Almond Milk: Which Ganache Sets Firmer?
- How to Price Your Homemade Chocolates for Profit at Local Markets?
Why Is Unsweetened Cocoa Powder Essential for the Truffle’s Finish?
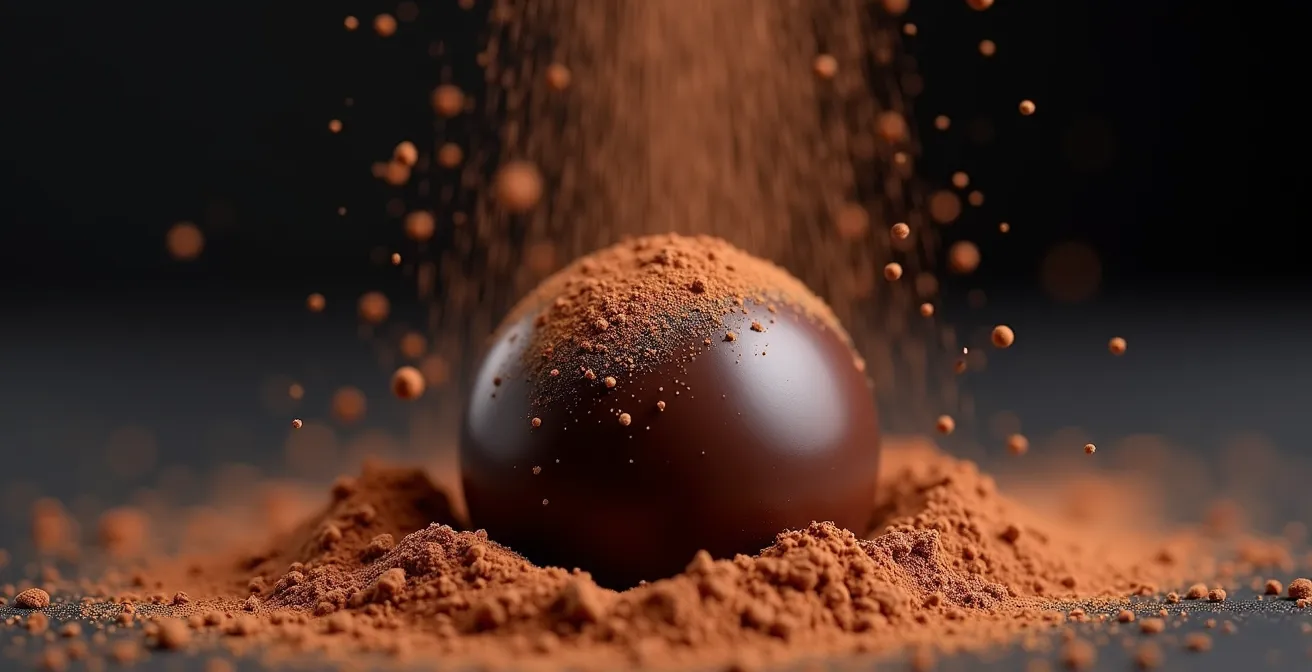
Unsweetened cocoa powder serves a dual purpose that is both functional and aesthetic, but its primary role in rolling is to act as a thermal barrier. It is the first line of defense against the heat from your hands. By creating a dry, insulating layer, it prevents the ganache’s surface from melting on contact. This is not just about preventing stickiness; it is a crucial element of thermal control. The powder absorbs the initial micro-layer of melted cocoa butter, creating a stable, matte surface that is far easier to manipulate than glossy, warming ganache.
Furthermore, the fine, uniform particles of cocoa powder provide a high-friction surface. This allows your fingertips to gain purchase on the truffle, applying gentle, consistent pressure to shape it into a sphere without needing to “cup” it in your palm. Aesthetically, it provides the classic, sophisticated finish, and its natural bitterness balances the rich sweetness of the ganache center. It signals a serious, adult confection, far from an overly sweet candy. The key is to apply a light, even layer that enhances, rather than overwhelms, the chocolate’s flavor.
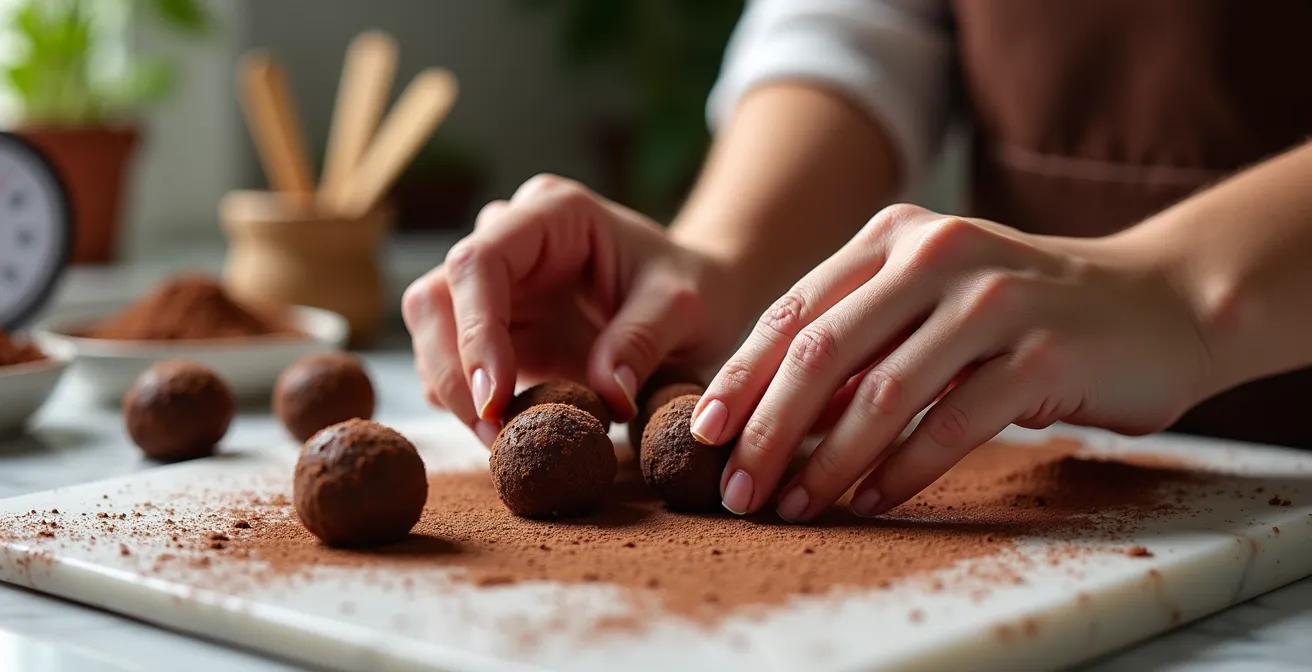
The technique for using cocoa powder, however, is more nuanced than simply dusting your hands. The goal is to apply the powder to the truffle, not to your skin. A professional approach involves a minimalist touch, ensuring that as little heat as possible is transferred. This disciplined method is the foundation of perfect rolling.
Your Action Plan: The Minimalist Touch Rolling Technique
- Initial Chill: Chill the truffle mixture for a minimum of 12 hours. This deep chill is non-negotiable for creating a firm crystalline structure.
- Temper to Room Temperature: Allow the mixture to warm up for approximately 2 hours before rolling. It should be just cooler than room temperature, firm but not rock-hard.
- Prepare Your Station: Dampen your fingertips lightly with water, then dip them into a bowl of unsweetened cocoa powder. The moisture helps a fine layer adhere.
- Shape with Finger Pads: Use only the cocoa-coated pads of your fingers to shape the truffles. Avoid all contact with your palms.
- Minimize Contact Time: Touch the truffle as little as possible. Use light, quick, rotating motions to form the sphere, focusing pressure on any high spots to even them out.
- The Final Dusting: After an initial shaping and chilling, re-roll the firm truffles in more cocoa powder to even out the color and hide any minor imperfections from handling.
How to Thinly Coat a Soft Truffle Center Without It Collapsing?
Coating a soft truffle center in a crisp chocolate shell is the ultimate test of thermal control. Success hinges on a precise temperature differential. The ganache center must be thoroughly chilled and firm, while the tempered coating chocolate must be at its optimal working temperature. Professional chocolatiers maintain a strict protocol where truffle centers are chilled to 40°F (4°C), while the tempered dark chocolate is held perfectly at 87.8-89.6°F (31-32°C). This difference is critical. If the center is too warm, it will melt and collapse upon contact with the coating. If the coating is too hot, it will instantly melt the center; if too cold, it will become thick and clumpy, resulting in an uneven, heavy shell.
When the cold truffle is submerged in the warm-but-not-hot tempered chocolate, the coating sets almost instantly upon contact. This rapid “seizing” creates a thin, protective shell around the soft core before it has a chance to deform. The technique used for dipping is just as important as the temperatures. The goal is speed and efficiency, minimizing the time the truffle spends in the warm chocolate. Different methods offer varying levels of control and are suited for different types of centers.
The following table outlines common professional methods. For a home cook aiming for a thin, even coat on a standard ganache, the “Dipping Fork” or the more accessible “Toothpick Transfer” method offers the most control and the cleanest results.
| Method | Equipment | Difficulty | Best For |
|---|---|---|---|
| Dipping Fork | Professional dipping fork | Medium | Even coating, minimal marks |
| Three-Finger Method | Just hands | Advanced | Speed and artisan finish |
| Shell-Out Method | Polycarbonate molds | Professional | Ultra-soft or liquid centers |
| Toothpick Transfer | Fork + toothpick | Beginner | Clean transfer to tray |
Butter vs. Coconut Oil: Which Truffle Texture Melts Faster?
The choice between butter and coconut oil in a ganache is not merely a matter of flavor; it fundamentally alters the crystalline structure of the fat, which dictates its melting point, texture, and handling properties. While both can create a delicious truffle, their behavior is starkly different. Truffles made with butter will invariably feel softer and melt faster in your hands than those made with coconut oil.
This difference is rooted in the complexity of the fats. Butter is a complex fat containing a wide range of fatty acids, which results in a broad melting range and a soft, smooth, non-brittle texture. This creates the luxurious, creamy mouthfeel many associate with classic truffles. However, this same property makes the ganache more delicate and susceptible to melting during the rolling process. It requires stricter chilling protocols and a more practiced, rapid touch.
Coconut oil, particularly virgin coconut oil, is much simpler. It is composed primarily of saturated fats that create a more uniform and brittle crystalline structure. This gives the resulting truffle a firmer set and a distinct, satisfying “snap” when bitten into. Because its melting point is more defined and slightly higher, a coconut oil-based ganache is more stable at room temperature and significantly more forgiving to handle and roll. It resists melting for a longer duration, making it an excellent choice for beginners or for truffles intended for warmer environments.
Case Study: Crystalline Behavior in Ganache
An analysis of ganache formulations found that the fats in butter create a softer, more complex matrix of crystals. This results in a truffle that melts smoothly on the palate but requires more careful handling to prevent melting from hand warmth. In contrast, coconut oil produces a firmer, more brittle crystalline structure. This not only provides a noticeable ‘snap’ but also increases the ganache’s thermal stability, making it less prone to melting during the shaping phase, as detailed in a comprehensive guide to truffle science.
The Fridge Mistake That Makes Your Truffles Absorb Onion Odors
The fat in chocolate—primarily cocoa butter—is a highly effective vehicle for both flavor and aroma. This is a double-edged sword. While it carries the delicate notes of vanilla or liqueur within the truffle, it is also extremely adept at absorbing ambient odors from its environment. The most common and disastrous mistake is storing finished truffles in an airtight container that isn’t truly airtight, or placing them unprotected in a refrigerator filled with aromatic foods like onions, garlic, or strong cheeses. This results in a phenomenon of odor permeability, where volatile compounds from other foods migrate and bind to the fats in the chocolate, permanently tainting their flavor.
A simple plastic container is not sufficient protection. Odors can penetrate thin plastic over time. To achieve true perfection, you must adopt a multi-layered defense strategy designed to isolate the truffles completely. The goal is to create a series of barriers that prevent any cross-contamination. This involves not only the right container but also its placement and the management of the overall fridge environment.
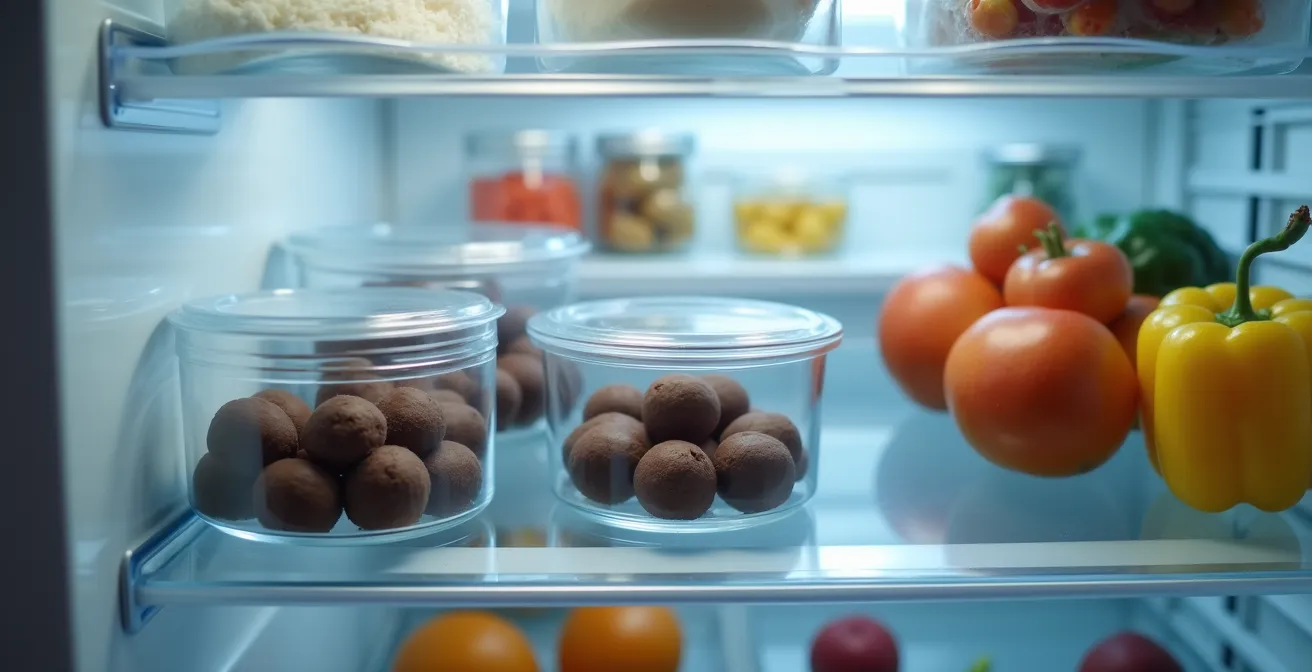
A professional chocolatier treats storage with the same precision as tempering. The “Triple-Lock Method” is a systematic approach to guaranteeing your truffles taste exactly as intended. Using a designated container only for chocolates is a key first step, as plastics can retain ghost odors from previous contents. For absolute security, a wine fridge set to 55°F (13°C) offers the ideal low-humidity, odor-free environment, but the following method works effectively in a standard kitchen refrigerator.
- Layer 1: The Primary Container. Place your finished truffles in a single layer within a shallow, high-quality airtight container, preferably made of glass, which is less permeable to odors than plastic.
- Layer 2: The External Barrier. For maximum protection, wrap the entire sealed container in a layer of plastic cling film, paying special attention to seal the edges.
- Layer 3: The Environment Scrubber. Place an open box of baking soda in the main compartment of your refrigerator. Baking soda is excellent at absorbing stray volatile organic compounds, acting as a final line of defense.
- Bonus Tip: Strategic Placement. Store your double-sealed container in the refrigerator’s “confectionery zone” (often the door or a dedicated drawer), kept far away from the crisper where aromatic vegetables are stored.
What Box Size Prevents Truffles from Rolling During Transport?
After investing meticulous effort into crafting perfectly round truffles, the final challenge is ensuring their structural integrity during transport. The primary enemy is movement. If truffles have space to roll or shift within their box, их delicate shells can crack, their cocoa powder coating can scuff, and they can collide with one another, causing dents and imperfections. The choice of packaging is therefore not an afterthought but a critical final step in preservation.
The ideal box size is one that allows for zero lateral movement. This is most effectively achieved by using a container with built-in dividers or by placing each truffle into its own individual fluted paper or glassine cup. These cups should then fit snugly side-by-side within the larger box. The goal is to create a matrix where each truffle is individually cradled and unable to move horizontally. Vertical movement is the second concern, which can be mitigated by placing a soft foam cushion pad or bubble wrap directly on top of the truffles before closing the lid.
To ensure your packaging is secure, perform the “Shake Test.” Once the box is fully packed and closed, give it a gentle but firm shake. You should not hear or feel any internal movement. If you do, the setup is inadequate. You must either add more padding, use smaller paper cups to fill gaps, or transfer the truffles to a smaller box until the shake test is passed without incident. This simple diagnostic ensures your truffles will arrive at their destination in the same perfect condition they left your kitchen.
| Container Type | Protection Level | Thermal Mass | Cost |
|---|---|---|---|
| Box with divider grid | Excellent – no lateral movement | Medium | $$ |
| Individual paper cups | Good – prevents contact | Low | $ |
| Foam cushion pads | Excellent – absorbs vertical shock | High | $$$ |
| Insulated shipping container | Professional – complete protection | Very High | $$$$ |
How to Choose the Right Fluidity Percentage for Dipping Strawberries?
While the subject appears to be strawberries, this question is truly about a core principle of chocolate work: fluidity. Chocolate designated for coating and dipping is often rated by its fluidity, typically indicated by a “drop” system (from one to five drops) on the packaging. This rating corresponds to the percentage of cocoa butter in the chocolate. More cocoa butter means higher fluidity—a thinner, more free-flowing consistency when melted. Choosing the correct fluidity is essential for achieving the desired shell thickness and finish.
For dipping strawberries, you want a coating that is thin enough to elegantly drape the fruit without being transparent, and thick enough to provide a satisfying snap without feeling heavy or cloying. A very high-fluidity chocolate (five drops) might run off the berry too quickly, leaving a weak, thin shell. A very low-fluidity chocolate (one or two drops) is better suited for molding and will create a thick, heavy, and often uneven coating.
The ideal choice for this application is a mid-range fluidity. Research from chocolatiers like Prestat confirms that a 3-to-4 drop fluidity chocolate provides an optimal coating when properly tempered. This level of fluidity creates a shell that is substantial enough to be crisp and opaque, yet delicate enough not to overwhelm the fresh berry beneath. This principle is directly transferable to truffle-making; a 3-drop fluidity is excellent for enrobing, while a 2-drop might be preferred for a thicker, hand-dipped shell. Understanding fluidity allows you to select the right tool for the job, every time.
Oat Milk vs. Almond Milk: Which Ganache Sets Firmer?
When moving beyond traditional dairy, the properties of plant-based milks dramatically affect ganache behavior. In the contest between oat milk and almond milk, an oat milk ganache will set significantly firmer. The reason lies in two key components: starch and fat content. This isn’t just a minor difference; it fundamentally changes the ganache’s structure and handling characteristics.
Oat milk naturally contains a high level of starches. During the heating process of making a ganache, these starches gelatinize and act as a powerful thickener, contributing to a much firmer final emulsion. Furthermore, many commercial oat milks are fortified with oils to create a creamier mouthfeel, which adds to the overall fat content. In contrast, almond milk has a very low fat and minimal starch content. Its structure is primarily water-based, resulting in a much softer, more delicate ganache that often requires extended chilling time to set and can be challenging to roll.
This scientific difference is confirmed by food science experts. As explained by Emmanuel Ohene Afoakwa in his research on chocolate, the molecular components of ingredients are key to the final structure.
The starches in oat milk act as a thickener and the higher fat content contributes to a firmer emulsion.
– Emmanuel Ohene Afoakwa, Chocolate Science and Technology
For a home cook, this means that oat milk is a more reliable and forgiving choice for creating a rollable, stable, plant-based truffle. The resulting ganache will be more resistant to hand warmth and easier to shape into perfect spheres.
| Property | Oat Milk | Almond Milk |
|---|---|---|
| Fat Content | Higher (often supplemented) | Low |
| Starch Content | High (acts as thickener) | Minimal |
| Setting Speed | Quick even at room temp | Requires extended chilling |
| Final Firmness | Significantly firmer | Softer core |
| Rolling Stability | Better heat resistance | More delicate |
Key Takeaways
- Perfection in truffle rolling is a learnable skill based on thermal control, not a natural talent.
- The “Minimalist Touch” technique, using only cocoa-dusted fingertips, is the most effective way to prevent melting.
- Ingredient choice is critical: coconut oil creates a firmer, more stable ganache than butter, while oat milk creates a firmer vegan ganache than almond milk.
How to Price Your Homemade Chocolates for Profit at Local Markets?
Transitioning from a hobbyist to an artisan selling at local markets requires a shift in mindset. You are no longer just making candy; you are selling the result of your mastery, time, and premium ingredients. Pricing your chocolates cannot be based on guesswork. It must be a calculated strategy that accounts for all costs, communicates value, and positions your product correctly in the marketplace.
A simple cost-plus formula is the starting point, but it’s not enough. You must calculate the cost of your ingredients, your packaging, and, crucially, your time (assign yourself a fair hourly rate). Many artisans undervalue their labor. Once you have a base cost, a common starting point is to multiply it by 1.5 or 2 to account for your artisan skill and create a profit margin. However, a more sophisticated approach is a tiered pricing strategy. This “Good, Better, Best” model allows you to capture a wider range of customers.
- Good Tier: Your classic dark or milk chocolate truffle. This is your accessible entry point, priced competitively (e.g., $1.50-$2.00 each).
- Better Tier: Truffles with more complex flavors or additional components, like caramel sea salt or a nut coating. This tier carries a 25-35% markup over the base price.
- Best Tier: Your premium offerings featuring high-cost ingredients like liqueurs, exotic spices, or single-origin chocolate. This tier can command a 50-75% markup.
Finally, you must sell the story. Your price is justified by the skill involved. Use small “story cards” on your market table with phrases like “Hand-Rolled Daily,” “Perfectly Tempered for a Signature Snap,” or “Made with [Local/Premium Ingredient].” This educates the customer about the value and mastery inherent in your product, moving the conversation from “Why does this cost so much?” to “I can’t wait to try this.”
Case Study: Artisan Market Positioning
Artisan brands like Coracao Confections successfully command premium prices by focusing their marketing on the craft itself. They emphasize the mastery required for perfect tempering to achieve the optimal “Form V” crystal structure, which provides the ideal gloss and snap. By highlighting the hand-rolled technique and the science behind their texture, they create a perception of value that extends far beyond a simple calculation of ingredient costs, justifying their premium position in the market.
Your journey to creating perfect, professional-quality chocolate truffles is a process of deliberate practice. It begins not with hope, but with technique. Apply these principles of thermal management and precision handling to your next batch. The control and consistency you achieve will be the true reward.