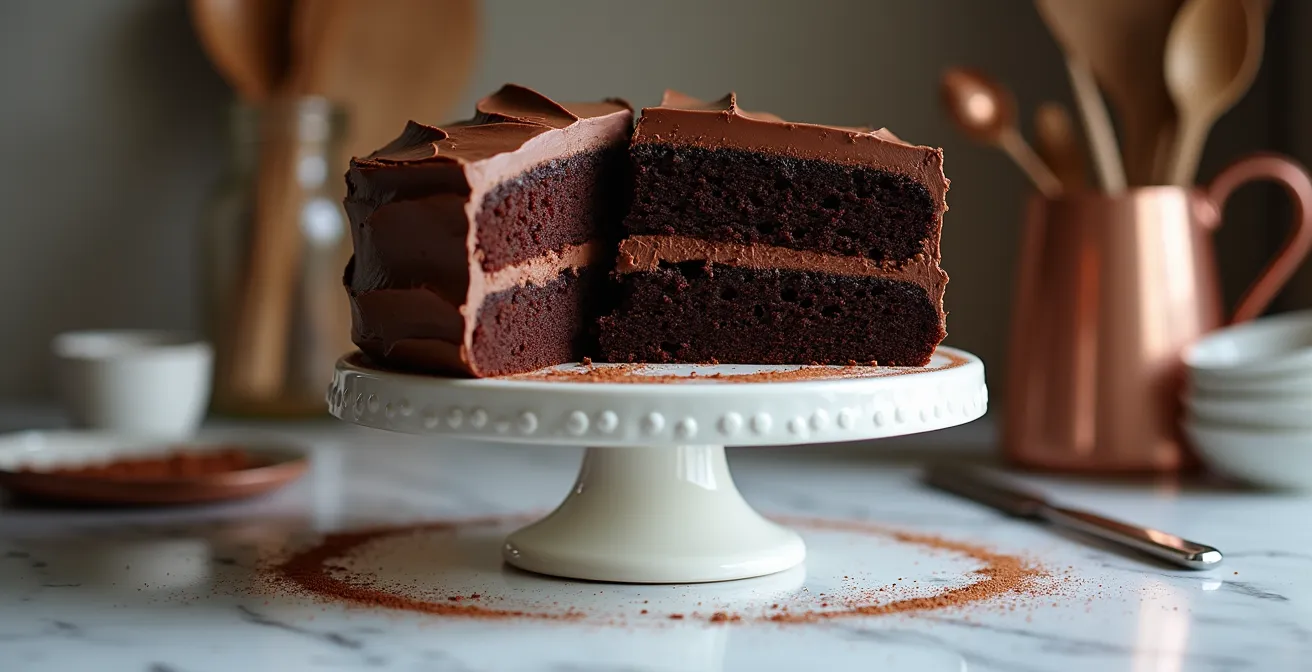
The secret to a long-lasting fudgy cake isn’t a single ingredient, but a controlled scientific process from mixing bowl to storage.
- Moisture is actively managed by selecting hygroscopic ingredients (like brown sugar) and fats (in almond flour) that bind to water.
- Texture is set with precise internal temperatures and protected by mastering post-baking thermal management to prevent carryover cooking and steam damage.
Recommendation: Stop treating cooling and storage as afterthoughts; they are the most critical stages for preserving the fudgy texture you worked hard to create.
For any baker preparing for an event, the ultimate frustration is a chocolate cake that is perfectly fudgy on day one, only to become a dry, crumbly disappointment by day two. The common advice—wrap it tightly, add a dash of sour cream, or simply hope for the best—often fails because it treats the symptoms, not the cause. These methods are merely single tactics in a much larger battle against moisture loss and staling. The true enemy is a scientific process known as starch retrogradation, where starch molecules recrystallize and push water out, leading to a firm, dry texture.
But what if the solution wasn’t just about adding more moisture, but about scientifically controlling it at every stage? The key to a cake that remains dense, dark, and intensely fudgy for three full days lies not in a single trick, but in a systematic approach to preservation. This is the mindset of a shelf-life expert. It involves understanding the chemistry of your ingredients, mastering the physics of heat transfer during baking and cooling, and controlling the environment during storage. It’s about transforming baking from a simple recipe into a controlled process designed for longevity.
This guide will deconstruct that process. We will move beyond simple tips and explore the scientific principles that govern texture and moisture. By understanding the ‘why’ behind each step—from the molecular behavior of sugar to the critical error of improper cooling—you will gain the expertise to engineer a chocolate cake that is not just delicious on day one, but consistently spectacular on day three.
Summary: A Scientific Guide to a 3-Day Fudgy Chocolate Cake
- Why Does Brown Sugar Make Cakes Fudgier Than White Sugar?
- How to Safely Underbake a Cake for Texture Without Risking Salmonella?
- Almond Flour vs. Wheat Flour: Which Creates a Denser Crumb?
- The Cooling Rack Mistake That Steams Your Cake and Makes It Gummy
- At What Temperature Does a Fudgy Texture Turn into a Hard Brick?
- The Mistake of Leaving Cookies on the Hot Tray After Removing from Oven
- How to Keep Sauces Warm Without Forming a Skin?
- How to Keep Dark Chunks Suspended in Muffins Without Them Sinking?
Why Does Brown Sugar Make Cakes Fudgier Than White Sugar?
The foundation of a moist cake begins at the molecular level with ingredient selection. While all sugars provide sweetness, their impact on long-term texture varies dramatically. The primary difference between brown and white sugar is the presence of molasses. This small distinction is a powerful tool for moisture preservation. As research from Bakers Authority explains that sugar acts as a humectant, its molasses content gives brown sugar superior hygroscopic properties. This means it actively attracts and holds onto water molecules within the batter and the finished cake, effectively locking in moisture and inhibiting the drying process.
White granulated sugar, being 99.9% sucrose, provides structure and sweetness but offers minimal moisture retention. In contrast, the molasses in brown sugar introduces invert sugars (glucose and fructose) which are even more hygroscopic than sucrose. This creates a denser, chewier, and more fudgy crumb that resists staling for a longer period. For a baker planning ahead, replacing a portion or all of the white sugar with brown sugar is a direct, scientific intervention to extend the cake’s optimal texture. The darker the brown sugar, the higher the molasses content, and the greater its capacity for moisture preservation, which also contributes deeper, complementary caramel notes to the chocolate flavor profile.
To leverage this property for maximum effect, consider the following hierarchy:
- Light Brown Sugar: Contains a small amount of molasses, offering a noticeable improvement in moisture over white sugar.
- Dark Brown Sugar: Its higher molasses content creates a significantly chewier, moister crumb, ideal for multi-day freshness.
- Muscovado Sugar: With the highest molasses content, this sugar delivers the ultimate fudgy texture and a rich, complex flavor, making it a prime choice for cakes intended to last three or more days.
How to Safely Underbake a Cake for Texture Without Risking Salmonella?
The term “underbaking” can be misleading; a more accurate goal for a fudgy texture is “precision baking.” The objective is not to leave a raw, unsafe batter, but to stop the cooking process at the exact moment the cake’s structure is set but before excess moisture has evaporated. This fine line is best navigated not by a timer or a toothpick, but with a digital food thermometer. For cakes containing eggs, the key is to ensure the internal temperature reaches a point that pasteurizes the eggs, eliminating any salmonella risk, while still preserving a dense, moist crumb. That safety threshold is well below the temperature of a fully dry cake.
Achieving a perfectly fudgy, lava-like center versus a standard moist crumb is a matter of just a few degrees. A digital thermometer provides the objective data needed to hit your target texture every time. Inserting the probe into the center of the cake and pulling it from the oven at the precise temperature ensures consistency and safety. This removes the guesswork associated with visual cues, which can vary based on oven hot spots, pan color, and recipe density. Mastering internal temperature control is the defining skill that separates an amateur baker from a preservation expert.
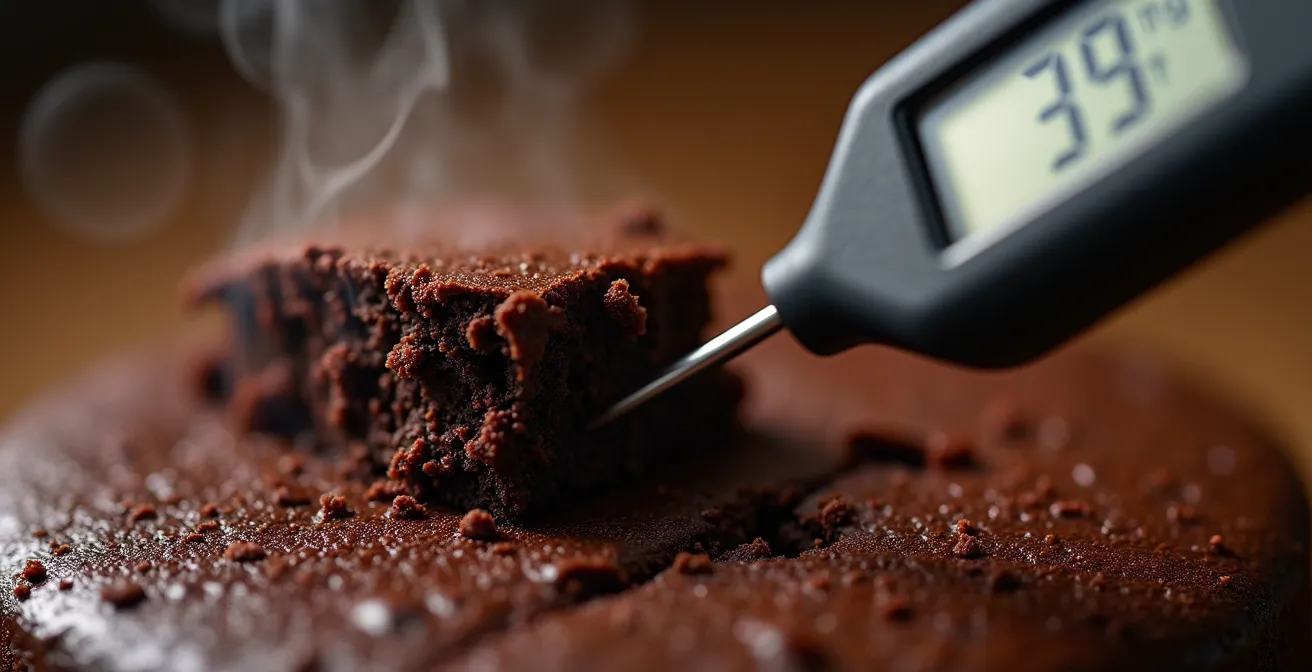
As the visual demonstrates, this technique is about precision. The difference between a gooey, molten center and a perfectly fudgy crumb can be as little as 10°F. The following chart, based on data from professional baking guides, illustrates these critical temperature targets.
As this internal temperature guide shows, specific targets yield distinct results. Controlling the final temperature is the most direct way to control the final texture.
| Texture Target | Internal Temperature | Result |
|---|---|---|
| Molten Lava Center | 180-190°F (82-88°C) | Very fudgy, underbaked center |
| Perfectly Fudgy | 195-200°F (90-93°C) | Set but ultra moist texture |
| Standard Moist | 205-210°F (96-99°C) | Traditional cake crumb |
Almond Flour vs. Wheat Flour: Which Creates a Denser Crumb?
Beyond sugar, the choice of flour fundamentally dictates the cake’s structure and moisture-holding capacity. While all-purpose wheat flour provides the gluten necessary for a traditional light and airy structure, this is often the opposite of what’s desired in a fudgy cake. Gluten development creates a network that can become tough and dry over time. Almond flour, on the other hand, offers a scientifically superior alternative for creating a dense, moist, and long-lasting crumb.
Almond flour is gluten-free and significantly higher in fat and protein. The natural oils in the ground almonds act as a tenderizer, coating the flour particles and inhibiting excessive gluten development when used in combination with wheat flour. This results in a much finer, closer, and denser crumb structure from the start. This density is key; a less porous structure has less surface area exposed to air, slowing moisture loss. Furthermore, the fat itself contributes to the sensation of moistness on the palate and acts as a natural preservative. Professional bakers have found that a strategic substitution of a portion of wheat flour with almond flour is a reliable method for enhancing both texture and shelf life. For instance, testing shows that cakes with a 25% almond flour substitution can maintain optimal moisture for over three days.
Case Study: Almond Flour’s Impact on Moisture Retention
Professional bakers consistently report that almond flour, being denser and containing more fat than wheat flour, creates a moister cake that stays fresh longer. The ground nuts’ natural oils create a tender, close-crumb texture ideal for fudgy cakes. This dense structure is less prone to drying out, making it a strategic choice for cakes prepared in advance.
Your Fudgy Cake Preservation Audit
- Ingredient Hygroscopy: Review your recipe. Is at least 25% of the sugar a form of brown sugar (light, dark, or muscovado) to maximize moisture retention?
- Fat & Density Contribution: Assess your flour. Have you substituted 25% of the all-purpose flour with blanched almond flour to increase density and fat content?
- Internal Temperature Protocol: Define your target texture. Have you set a precise pull temperature (e.g., 195-200°F for “perfectly fudgy”) and is a digital thermometer ready?
- Cooling Process Integrity: Map out your cooling steps. Does your plan include the 10-minute in-pan rest followed by immediate inversion to a wire rack for full airflow?
- Storage Environment Control: Identify your storage location. Is it a stable room temperature environment (around 68°F/20°C), and is the cake properly sealed from air exposure?
The Cooling Rack Mistake That Steams Your Cake and Makes It Gummy
The baking process doesn’t end when the cake leaves the oven. The cooling phase is an active and critical stage of thermal management that can either preserve or destroy a perfect fudgy texture. The most common mistake bakers make is leaving the cake to cool in its pan for too long. While a brief rest is necessary for the structure to set, prolonged time in the hot pan traps steam. This trapped moisture doesn’t keep the cake moist; it steams the crumb from the inside out, turning a delicate, fudgy texture into a dense, gummy, and wet one. It also continues to cook the cake, a process known as carryover cooking, pushing it past its ideal temperature.
The solution is a precise and swift inversion process. Allowing the cake to rest in the pan on a wire rack for exactly 10 minutes gives the crumb just enough time to firm up and avoid breaking. After 10 minutes, the pan must be inverted onto the cooling rack and removed immediately. This allows the residual heat and steam to dissipate freely into the air rather than being trapped against the cake’s surface. A cooling rack that elevates the cake ensures 360-degree airflow, cooling it evenly and preventing the bottom from becoming soggy. This step is not a passive wait; it is a deliberate procedure to halt the cooking process and manage moisture evacuation correctly.
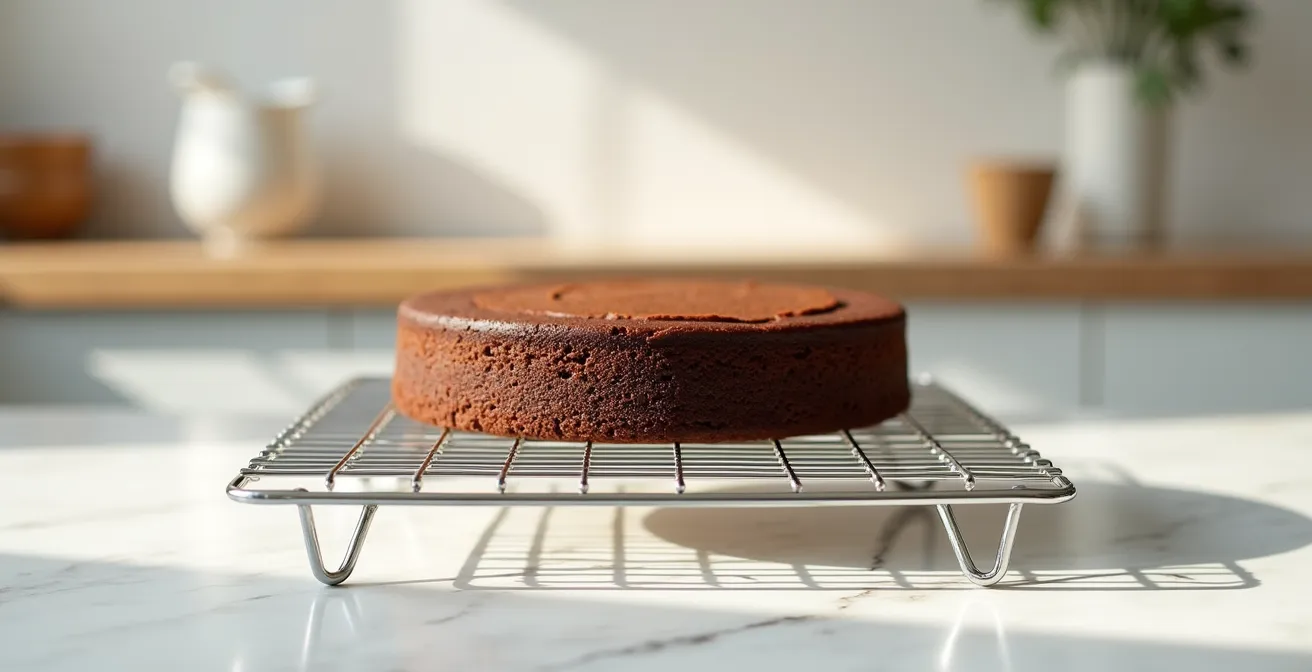
Proper airflow is non-negotiable for texture preservation. As the image illustrates, elevating the cake on a wire rack is essential. This prevents the bottom from steaming and ensures the entire cake cools at an even rate, locking in the desired fudgy texture without any gumminess. This technique is a cornerstone of professional pastry kitchens.
Executing this flawlessly requires a clear plan:
- Cool the cake in its pan on a wire rack for exactly 10 minutes.
- Run a thin knife or offset spatula around the edges to release the cake.
- Place a second cooling rack on top of the pan and quickly invert the entire assembly.
- Lift the pan off immediately to release trapped steam.
- Allow the cake to cool completely on the rack before wrapping for storage.
At What Temperature Does a Fudgy Texture Turn into a Hard Brick?
After carefully managing ingredients, baking temperatures, and cooling, the final stage of preservation is storage. This is where many perfect cakes meet their demise. The single biggest mistake a baker can make when storing a fudgy cake is placing it in the refrigerator. While refrigeration seems like a logical way to preserve freshness, it is the primary accelerator of starch retrogradation—the scientific process of staling. The cold, dry environment of a refrigerator causes the starch molecules in the flour to recrystallize and squeeze out moisture at a dramatically accelerated rate, turning a moist, fudgy crumb into a hard, dry brick within 48 hours.
As food science research demonstrates that the 35-45°F (2-7°C) range maximizes staling speed in baked goods. This is precisely the temperature range of a standard refrigerator. The optimal environment for maintaining a fudgy texture is a stable, cool room temperature (around 68°F/20°C). At this temperature, starch retrogradation occurs much more slowly. When properly wrapped in plastic or stored in an airtight container to prevent moisture from escaping into the air, a well-formulated cake can maintain its ideal texture for 3-4 days. The freezer, conversely, is an effective long-term solution because it drops the temperature so low that it effectively pauses the staling process entirely.
This comparative data, drawn from bakery science principles, clearly outlines the impact of your storage choice.
| Storage Temperature | Texture Impact | Duration |
|---|---|---|
| Freezer (0°F/-18°C) | Staling paused indefinitely | Up to 3 months |
| Room Temp (68°F/20°C) | Optimal fudgy texture maintained | 3-4 days |
| Refrigerator (40°F/4°C) | Rapid staling, becomes hard | Hard within 48 hours |
The Mistake of Leaving Cookies on the Hot Tray After Removing from Oven
Valuable preservation lessons often come from adjacent baking disciplines. The common wisdom for cookies is to remove them from the hot baking sheet to a cooling rack after a minute or two. Leaving them on the sheet results in “carryover cooking,” where the residual heat from the metal continues to bake the cookies, turning them from soft and chewy to hard and crisp. This exact principle applies with even greater consequence to a large, dense mass like a cake.
A cake pan, especially a dark metal one, retains a significant amount of heat after being removed from the oven. Leaving a cake in its pan for too long is the equivalent of leaving cookies on a hot tray. The carryover cooking continues to drive moisture out of the cake’s crumb, slowly transforming your carefully achieved fudgy texture into a drier, more cakey one. This is why the 10-minute rule for in-pan cooling is not arbitrary; it’s a calculated balance, allowing the cake’s structure to set just enough before removing it from the heat source (the pan) to halt the cooking process.
Case Study: The Carryover Cooking Principle
The principle of carryover cooking is universal in thermal dynamics. As demonstrated in cookie baking, any food item left on its hot cooking vessel will continue to cook. Professional bakers apply this understanding to cakes by enforcing a strict, timed removal from the pan. This action is a critical control point to prevent the cake’s internal temperature from rising past the target “fudgy” zone (195-200°F) and into the “dry” zone (205°F+), ensuring the intended texture is preserved.
How to Keep Sauces Warm Without Forming a Skin?
Another powerful analogy for cake preservation comes from the world of sauce-making. When a warm sauce like a crème anglaise or a gravy is left exposed to the air, it forms an unpleasant “skin” on its surface. This skin is a result of two processes: evaporation, which concentrates the proteins and starches at the surface, and denaturation of proteins. The professional solution is to press a piece of plastic wrap directly onto the surface of the sauce, creating a barrier that prevents evaporation and air contact.
A baked cake, while solid, behaves similarly. The entire surface of an unwrapped cake is exposed to air. This exposure allows moisture within the crumb to continuously evaporate into the surrounding environment, leading to a dry, stale crust that gradually works its way inward. Just as a saucier protects their work with a surface barrier, a baker must protect their cake. Once the cake is completely cool—and this is critical, as wrapping a warm cake traps steam and creates a gummy texture—it must be sealed. Tightly wrapping the cake in plastic wrap or placing it in an airtight container serves the same function as the plastic on a sauce: it creates a micro-environment where the humidity remains high, drastically slowing the process of moisture loss through evaporation.
This concept of surface protection is the final step in locking in the moisture you’ve so carefully managed through ingredients and baking. An unprotected cake, no matter how well-formulated, will always lose the battle against a dry environment. The simple act of creating an airtight seal is the ultimate defense against evaporation and a key pillar of multi-day preservation.
Key takeaways
- Sugar is a tool: Use brown sugar not just for flavor, but as a hygroscopic agent to actively bind and retain moisture.
- The refrigerator is the enemy: The 35-45°F range of a fridge is the optimal temperature for staling (starch retrogradation). Room temperature storage is superior for texture.
- Cooling is an active process: Immediate removal from the pan after a 10-minute rest is crucial to stop carryover cooking and prevent the cake from steaming itself into a gummy texture.
How to Keep Dark Chunks Suspended in Muffins Without Them Sinking?
The final piece of the preservation puzzle relates to the cake’s very structure, a lesson best illustrated by the challenge of suspending heavy mix-ins like chocolate chunks in a batter. When chunks sink to the bottom of a muffin, it’s a clear sign that the batter lacks sufficient viscosity and structure to support them. A thin, watery batter will not only fail to hold mix-ins but will also produce a cake that is prone to being dense and wet at the bottom while dry at the top, and it will lose its moisture quickly.
A batter with proper integrity—one that is thick enough to hold chocolate chunks in suspension—is also a batter that is inherently better at retaining moisture. The factors that contribute to this ideal viscosity are the very ones we’ve discussed: the use of moisture-binding brown sugars, the inclusion of fat-rich and structural almond flour, and a balanced ratio of liquids to solids. Tossing heavy chunks in a tablespoon of flour from the recipe before folding them in helps them grip the batter, but this trick only works if the batter has enough body to begin with. Ultimately, a batter’s ability to suspend additions is a direct indicator of its quality and its potential for a long, fudgy shelf life.
Therefore, when formulating your cake, think of the batter’s consistency not just in terms of the final bake, but as a predictive measure of its structural integrity. A well-designed, thick batter is the foundation upon which all other preservation techniques are built. It ensures even baking, uniform moisture distribution, and the ability to deliver a perfect bite, with or without suspended chocolate chunks.
By applying this preservation-focused mindset and systemic approach to your entire baking process, you can consistently engineer superior texture and extend the shelf life of not just chocolate cakes, but all of your baked creations.