Building a stable chocolate sculpture is less about artistic flair and more about mastering structural engineering.
- The primary cause of collapse is not poor design, but a failure to control the chocolate’s crystalline structure and the ambient temperature.
- Advanced techniques like “spray choc” for instant-freezing joints and understanding load-bearing principles are what separate amateur work from professional centerpieces.
Recommendation: Before attempting a large structure, master temperature control. This single skill is the foundation of all successful chocolate construction.
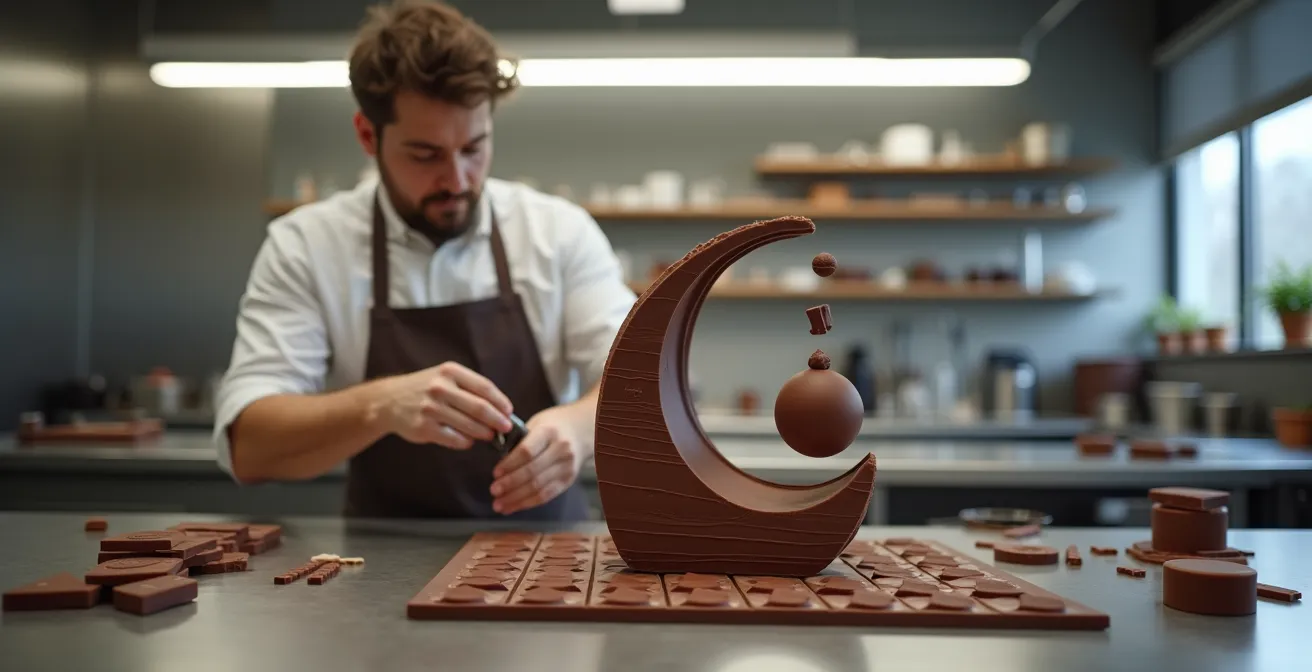
As a pastry student, you’ve likely seen the breathtaking, towering chocolate creations of masters and felt a mix of awe and intimidation. You attempt your first piece, meticulously crafting each element, only to watch it tragically sag, crack, or collapse into a glossy puddle after 30 minutes. The common advice is to “use tempered chocolate” or “work in a cool room,” but these are just fragments of a much larger, more fascinating picture. These tips treat the symptom, not the cause, and they overlook the true nature of what you’re doing.
You are not just decorating a cake; you are practicing a form of edible architecture. The secret to creating those show-stopping, gravity-defying centerpieces doesn’t lie in a better recipe or a more intricate mold. It lies in understanding chocolate not as a food, but as a construction material with specific physical and chemical properties. It’s about thermal dynamics, crystalline stability, and structural load.
But what if the key wasn’t simply sticking pieces together, but engineering stable “weld points”? What if the choice between an abstract swirl and a realistic figure had profound implications for your project’s stability and timeline? This guide will shift your perspective. We will move beyond the kitchen and into the engineering workshop, dissecting the physics that make a chocolate sculpture stand tall. We’ll explore the science behind collapses, the professional techniques for creating instant, solid joints, and the logistical challenges of keeping your masterpiece intact from the workshop to the display table.
This article provides a complete roadmap for the aspiring chocolate artist. By understanding these core principles, you’ll gain the confidence to move from simple desserts to your first true structural showpiece.
Summary: Mastering the Art of Structural Chocolate
- Why Does Your Chocolate Tower Collapse After 30 Minutes?
- How to Use ‘Spray Choc’ to Instant-Freeze Connections?
- Abstract vs. Realistic: Which Sculpture Style Wins Competitions?
- The Vibration Mistake That Cracks Sculptures During Car Delivery
- What Lighting Setup Melts Chocolate Sculptures the Slowest?
- Sculpture vs. Flavor: Which Should Prioritize for a Wedding Centerpiece?
- How to Keep Your Chocolate at Working Temperature for 1 Hour Straight?
- How to Transform Simple Chocolate Desserts into 3-Star Michelin Plates?
Why Does Your Chocolate Tower Collapse After 30 Minutes?
The most common reason a chocolate sculpture fails is not a flaw in your artistic design, but a failure in its structural engineering. The culprit is almost always a combination of improper tempering and thermal shock. When chocolate is not correctly tempered, its cocoa butter forms unstable crystals. These crystals have a low melting point and lack the rigidity to bear weight. Your tower doesn’t just melt; its fundamental crystalline structure gives way under its own load.
This is compounded by the environment. The ideal workspace for chocolate is not just “cool,” it’s precisely controlled. In fact, most professional chocolatiers maintain workspace temperatures strictly between 68-70°F. A room that is too warm weakens the structure, while a room that is too cold can cause thermal shock, leading to micro-cracks that become catastrophic failures over time. Think of your sculpture as being in a state of dynamic equilibrium with its surroundings.
For structural elements, the choice of material is also critical. Dark chocolate, with its higher cocoa butter content, provides far greater strength and stability than milk or white chocolate. When assembling, use this melted “glue” sparingly. An overly thick joint won’t set quickly and can cause the pieces to slide out of alignment before a solid bond is formed. Each stage of assembly requires patience; allow a minimum of 30 minutes for each new joint to fully set before adding more weight.
How to Use ‘Spray Choc’ to Instant-Freeze Connections?
In professional chocolate work, waiting 30 minutes for a joint to set is a luxury you often don’t have, especially when creating complex angles that defy gravity. This is where a key piece of technology comes into play: “spray choc,” also known as freezer spray. This is a canister of compressed cooling agent (like tetrafluoroethane) that instantly chills a targeted area to below freezing. When applied to a freshly made melted chocolate joint, it forces the cocoa butter to crystallize almost instantaneously, creating a strong, solid “weld” in seconds.
The technique requires precision. You should hold the can several inches away and apply the spray in short, controlled bursts. The goal is to freeze the liquid chocolate “glue” without making the entire structural piece brittle. This method is indispensable for attaching delicate pieces at odd angles or for creating the initial support framework of a large sculpture, allowing you to build faster and with more confidence.
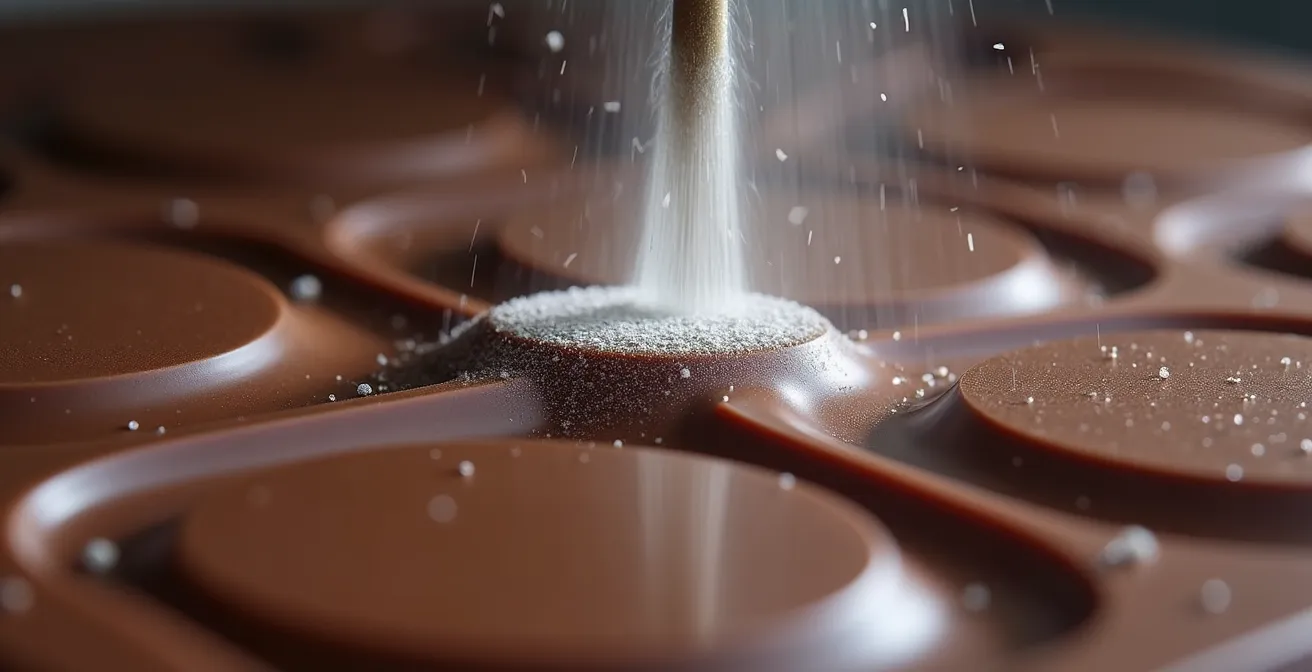
As the spray hits the liquid chocolate, you can see frost form as the temperature plummets, locking the piece in place. Beyond its structural use, this technique has aesthetic applications. As demonstrated by pastry chefs at Le Cordon Bleu, spraying pre-frozen chocolate pieces with cocoa butter creates a stunning, velvet-like texture that is highly sought after in competition pieces. This control over temperature and texture is a hallmark of high-level chocolate artistry.
Abstract vs. Realistic: Which Sculpture Style Wins Competitions?
Once you’ve mastered the basic engineering, the next question is artistic: what should you build? In the world of competitive chocolate, two dominant styles emerge: abstract and realistic. The choice between them is not just aesthetic; it has significant implications for technical difficulty, time investment, and your chances of winning. Realistic sculptures, which aim to replicate objects or figures with lifelike precision, are a traditional display of skill but can sometimes be less memorable in a crowded field.
Abstract sculptures, focused on form, color, and movement, are currently trending in professional competitions. They are often more forgiving of minor imperfections and allow for a greater expression of creativity. However, creating a balanced and visually appealing abstract form requires a strong understanding of composition and flow. The following table breaks down the key differences to help guide your choice.
| Aspect | Abstract Sculptures | Realistic Sculptures |
|---|---|---|
| Technical Difficulty | More forgiving of imperfections | Requires precise anatomy and details |
| Competition Success | Currently trending in professional competitions | Traditional but less memorable |
| Time Investment | 2-3 days average | 5-7 days for detailed pieces |
| Materials Used | 100-200 lbs chocolate | 200-550 lbs for life-size pieces |
The material requirements for realistic sculptures can be staggering, showcasing the immense challenge they represent. For instance, renowned chocolatier Amaury Guichon is famous for his life-sized creations; one of his most ambitious pieces, a velociraptor, was a testament to this style. An official report noted that the world’s most famous chocolatier created a velociraptor sculpture weighing 550 lbs. This massive scale demands flawless structural planning, as any error is magnified. For a beginner, starting with a smaller, abstract piece is often a more strategic path to developing your skills.
The Vibration Mistake That Cracks Sculptures During Car Delivery
You have successfully built your masterpiece. It’s stable, beautiful, and standing tall in your workshop. Now comes the most nerve-wracking part: transporting it. A single mistake during this phase can undo days of hard work. The biggest enemy is not bumps in the road, but high-frequency vibrations from the car’s engine and movement, which can create micro-fractures that propagate and shatter your piece.
The key is to create a suspension and dampening system. Never place a sculpture directly on a car seat or in the trunk. The seats are designed to be soft and will allow too much movement, while the trunk is often directly over the axle, where vibrations are harshest. The safest location is the floor of the vehicle, preferably in the center. The sculpture, or its modular components, should be placed inside an oversized box with layers of soft foam padding to create a “suspension” system that absorbs shocks.
Temperature inside the vehicle is just as critical as in the workshop. Always pre-cool the car by running the air conditioning for at least 15 minutes before loading the chocolate. For maximum security, especially for larger pieces, the best practice is to transport the sculpture in modular pieces and perform the final assembly on-site. This minimizes the risk of a catastrophic failure during transit.
Action Plan: Safe Transport Checklist for Chocolate Sculptures
- Pre-cool the vehicle’s AC for 15 minutes before loading the sculpture.
- Build a suspension system using foam padding within an oversized box.
- Place sculpture components on the center floor of the vehicle, avoiding seats or the trunk.
- Use crumpled paper or bubble wrap as vibration dampeners between layers and components.
- Transport in modular pieces for final assembly on-site whenever possible.
What Lighting Setup Melts Chocolate Sculptures the Slowest?
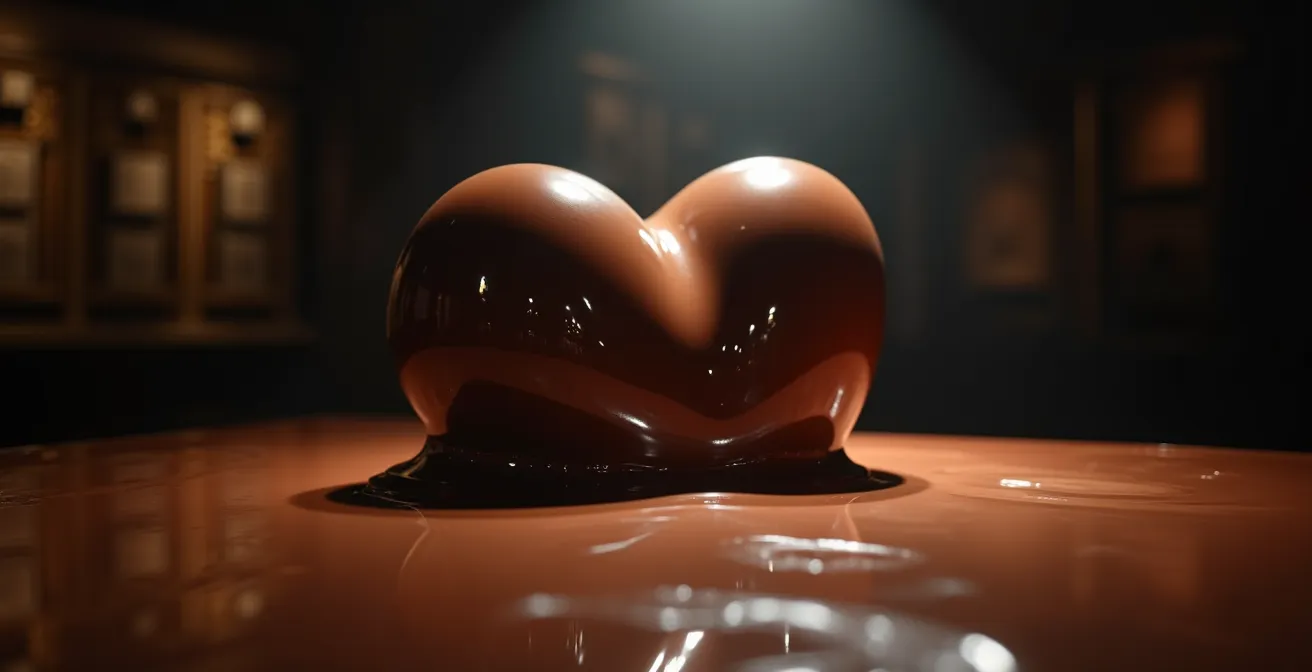
After your sculpture has safely arrived, the final challenge is displaying it. Improper lighting can be as destructive as a warm room, slowly softening the surface and causing it to lose its sheen and structural integrity. The primary culprit is infrared (IR) radiation, which is emitted as heat by traditional incandescent and halogen bulbs. Even from a distance, this radiant heat will slowly melt your creation.
For this reason, professional displays for chocolate art exclusively use LED lighting. LEDs produce very little IR radiation and remain cool to the touch, making them the safest option. However, even with LEDs, direct, harsh light can create hot spots. The most advanced technique, often used in museum settings, is to use “bounce” lighting. Instead of pointing the lights directly at the sculpture, they are aimed at a neutral white surface, like a wall or a reflector card. This creates a soft, diffuse illumination that bathes the sculpture in light without concentrating heat on any single point.
Proper storage and display conditions can preserve a chocolate sculpture for a surprisingly long time. Away from light, humidity, and at the right temperature, a solid chocolate piece is incredibly stable. As noted in a feature on Amaury Guichon’s work, with the right environment, these creations are built to last. One article mentions that professional displays use LED lighting exclusively with bounce techniques to prevent heat damage, adding that his sculptures can be stored for up to 15 years. This highlights that a sculpture’s longevity is a direct result of environmental control.
Sculpture vs. Flavor: Which Should Prioritize for a Wedding Centerpiece?
When creating a centerpiece for an event like a wedding, a crucial question arises: is this piece purely for visual impact, or is it meant to be eaten? This decision fundamentally changes your material selection. Prioritizing sculpture demands chocolate with the highest structural integrity, while prioritizing flavor may lead you to use chocolates that are more delicious but less stable.
For purely structural, load-bearing elements, a high-percentage dark chocolate (72% cocoa or higher) is the undisputed champion. The high concentration of cocoa butter provides maximum strength and a “snap” that is essential for stability. However, its intense, often bitter flavor may not be universally appealing to guests. Milk chocolate, while popular for its creamy and sweet taste, has lower structural strength and is best reserved for outer, non-load-bearing veneers or decorative elements.
A good compromise can be found in chocolates around the 65% cocoa mark, which offer a rich flavor profile while still retaining very good structural properties. Another option is modeling chocolate, a pliable paste made from chocolate and corn syrup. It is excellent for sculpting detailed figures and decorations, but its very sweet taste and doughy texture make it less ideal for consumption as a primary element. The following guide compares these options.
| Chocolate Type | Structural Strength | Flavor Profile | Best Use |
|---|---|---|---|
| Dark 72% Cocoa | Excellent (high cocoa butter) | Intense, slightly bitter | Internal structure |
| Dark 65% Cocoa | Very Good | Rich, balanced | Good compromise |
| Milk Chocolate | Moderate | Creamy, sweet | Outer veneer layers |
| Modeling Chocolate | Good for sculpting | Very sweet | Detailed decorations |
How to Keep Your Chocolate at Working Temperature for 1 Hour Straight?
The process of tempering chocolate brings it to a perfect working state, but this state is fleeting. As you work, the chocolate will naturally begin to cool and thicken, losing its fluidity and becoming difficult to use. Maintaining the correct working temperature for an extended period, like an hour, is a core professional skill. The ideal temperature for most dark chocolate work is a very narrow window; you must maintain the chocolate temperature strictly between 107-110°F to keep it fluid without losing its temper.
Fighting this cooling process requires a proactive approach. Instead of reheating a large, cooling batch from scratch, it’s far more effective to work with small batches that you can realistically use within 20 minutes. Keep your main supply of tempered chocolate in an insulated container to slow heat loss. The microwave is your best friend here, but it must be used with extreme care. Reheat the chocolate in very short, 5- to 10-second intervals, stirring thoroughly after each burst to distribute the heat evenly and avoid overheating, which would destroy the temper.
Another professional trick is to periodically add a few callets (small discs) of already tempered chocolate to your working bowl. Stirring them in will help “re-seed” the crystal structure and maintain stability while slightly lowering the temperature back into the ideal zone if it gets too warm. For localized warming of a sculpture’s surface to attach a new piece, a hair dryer on its lowest heat setting can be used for a few seconds to make the area receptive, without melting the entire structure.
Key Takeaways
- Structural failure is a physics problem: control temperature and use tempered, high-cocoa-butter chocolate for stability.
- Professional speed and complexity are achieved with tools like “spray choc” for instant joint welding.
- Transport and display are part of the construction process; mitigate vibration and use only cool LED lighting.
How to Transform Simple Chocolate Desserts into 3-Star Michelin Plates?
The grand principles of structural engineering that apply to a five-foot sculpture also apply on a miniature scale to elevate a simple dessert to a Michelin-star level. The same understanding of temperature, texture, and form is what allows top chefs to create breathtaking chocolate garnishes that are both works of art and integral parts of the flavor experience. It’s about thinking of every element on the plate as a component of a small-scale sculpture.
This means moving beyond just a drizzle of sauce. Use your knowledge of tempering to create razor-thin shards of chocolate that stand vertically, adding height and drama to the plate. Instead of a simple truffle, create a delicate sphere with a perfect sheen. Professionals achieve unique finishes by manipulating temperature and surfaces; for example, spreading tempered chocolate onto a sheet of textured plastic or acetate before it sets can impart incredible patterns. Marbling effects can be created by gently swirling two or three types of tempered chocolate together before they harden.
The most important lesson from large-scale sculpture that applies to plating is the concept of negative space. A Michelin-star plate is often defined as much by what isn’t there as what is. Instead of crowding the plate, arrange your chocolate components thoughtfully to create balance and guide the eye. A single, perfectly formed chocolate curl, placed with intention, has more impact than a chaotic pile of shavings. This is the final step in your journey: taking the discipline of a structural artist and applying it with the finesse of a top-tier pastry chef.
By mastering these foundational engineering principles, you can begin to apply them creatively. Start today by transforming a simple dessert, focusing on creating one perfect structural garnish—a standing shard, a clean sphere, or a textured wave. This is the first step to building not just sculptures, but your confidence and expertise as a true chocolate artist.