The greatest barrier to creating an exceptional dessert isn’t a lack of ideas—it’s the inability to commit to one and refine it ruthlessly.
- Success starts with identifying a single “hero flavor” and building complementary, not competing, elements around it.
- True balance is discovered through unbiased testing and a strict “sensory budget” to avoid overwhelming the diner.
Recommendation: Instead of adding more components to a struggling concept, start subtracting them. The strongest version of your dessert is often the simplest.
As a pastry student, your mind is a whirlwind of possibilities. You see inspiration everywhere: a seasonal fruit, a new technique, a complex flavor combination you read about. The sketchbook fills up, but the path to a finished, plated dessert feels cluttered and overwhelming. You have a dozen half-formed concepts, but not one clear, confident dish. This creative paralysis is a common, and frustrating, stage in every chef’s development. The temptation is to keep adding, tweaking, and hoping for a moment of magic where everything just clicks.
The conventional advice—to “balance flavors” or “play with textures”—is true, but it doesn’t address the core problem of focus. You already know the basic components. What you need is a professional framework, a system for navigating the creative chaos. The secret isn’t in finding more ideas, but in developing a process for intentional elimination and refinement. But what if the key to unlocking your creativity wasn’t about what you add, but what you have the courage to take away?
This guide provides that professional framework. We will move beyond abstract concepts and give you a concrete, step-by-step process used in high-end pastry kitchens. We will start by anchoring your concept, then move to objective testing, textural engineering, and finally, the practicalities of plating for a real-world service. This is your path from a cluttered sketchbook to a single, show-stopping dessert.
For those who prefer a more condensed format, the video below offers a quick overview of the key principles of structured creativity that we’ll be exploring in detail.
To help you navigate this creative journey, this guide is structured to mirror the professional dessert development process. Below is a summary of the key stages we will cover, from establishing your core flavor to the final plating philosophy.
Summary: A Professional Framework for Dessert Prototyping
- Why Do You Start with the Main Flavor Before Adding Accents?
- How to Run a ‘Blind Taste Test’ on Yourself to Remove Bias?
- Crunch vs. Cream: What is the Ideal Ratio for a Plated Dessert?
- The ‘Too Many Components’ Mistake That Confuses the Diner
- When to Simplify a Garnish So Your Team Can Plate It During Rush?
- Why Start with Milk Chocolate Before Dark in a Tasting Menu?
- How to Create Chocolate ‘Soil’ Using Maltodextrin?
- The ‘Negative Space’ Rule That Instantly Makes Plating Look Expensive
Why Do You Start with the Main Flavor Before Adding Accents?
Every memorable dessert tells a clear story, and that story begins with a protagonist: the hero flavor. Starting with a single, dominant flavor before introducing supporting accents is the most crucial step in avoiding a muddled, confusing plate. It’s your anchor. A dessert that tries to feature strawberry, basil, black pepper, and yuzu all at once doesn’t taste complex; it tastes chaotic. A dessert that heroes a perfect, in-season strawberry, supported by a whisper of basil and a textural counterpoint, is confident and delicious. This isn’t just an artistic choice; it’s a strategic one that caters to how people experience food.
Diners crave both novelty and comfort. By grounding your creation in a clear, identifiable main flavor, you provide that anchor of familiarity. In fact, research by Taste Tomorrow reveals that 73% of global consumers like to have a familiar element when trying new foods. Your hero flavor is that familiar element. Once you’ve established it, every other component—the accent flavor, the sauce, the crunch element—is auditioned based on a single criterion: does it make the hero flavor shine brighter? If it competes or distracts, it’s cut. This disciplined approach is what separates a student’s ambitious experiment from a professional’s polished dish.
The process is simple: identify your hero. Test it in isolation. Is your raspberry mousse vibrant enough on its own? Is the chocolate ganache perfectly smooth and intensely flavorful? Only when the star is ready for its close-up do you begin to cast the supporting characters. This ensures you are building a cohesive team, not just a crowd of individuals.
How to Run a ‘Blind Taste Test’ on Yourself to Remove Bias?
As the creator, you are the most biased judge of your work. You’re attached to a difficult technique, you love the color of a specific gel, or you simply remember how a component was “supposed” to taste. To make objective decisions, you must remove your own ego and expectations from the equation. A blind taste test is the professional’s tool for doing exactly that. It’s not just for judging finished products; it’s an essential part of the development process for evaluating individual components and their interactions.
The setup forces honesty. Prepare multiple versions of a single component, varying only one thing at a time—the type of sugar, the percentage of fruit puree, the steeping time of an infusion. Label them with neutral symbols, not names, and have someone else arrange them for you. As you taste, you’re not asking “Is this good?” You’re asking specific questions: “Which one has the clearest flavor? Which has the best texture? Which is too sweet when I imagine it with the other components?” This is how you make incremental, data-driven improvements instead of emotional guesses.
This process uncovers truths you would otherwise miss. You might discover that the less-vibrant-looking puree has a more intense flavor, or that a version with less sugar actually tastes more of the primary fruit.
Case Study: Joy Cho’s Iterative Blind Testing
Pastry chef Joy Cho’s signature Gem Cakes were born from a systematic blind testing method. She would compare at least three versions of a recipe with minor variable changes, framing the work as experimentation to remove deadline pressure. Using family members as unbiased testers, she evaluated glazes and cakes separately. This component-first approach revealed a crucial insight: after perfecting a glaze, she discovered the base cake was now too sweet when they were combined. This led her to reduce sugar in the cake, a decision she wouldn’t have made without isolating and then re-combining the elements blindly, proving how the process reveals true sensory balance.
Crunch vs. Cream: What is the Ideal Ratio for a Plated Dessert?
Flavor gets the spotlight, but texture is what creates a dynamic, memorable eating experience. A dessert that is all one note—all soft, all creamy, all crunchy—is boring. The interplay between textures is what keeps the palate engaged. The most classic and effective contrast is crunch versus cream. Think of a crème brûlée: the shattering sugar crust giving way to a velvety custard. Or a cheesecake: the smooth, dense filling on a crisp, buttery graham cracker base. This contrast is fundamental to satisfaction.
There is no single “magic” ratio, but the goal is deliberate balance. The creamy element usually forms the main body of the dessert, providing a lush, comforting mouthfeel, while the crunchy component acts as a punctuation mark. It should provide a surprising and satisfying textural break in every or nearly every spoonful. A common mistake is having a crunch element that is too sparse (a single, lonely tuile) or too overwhelming (a thick, hard base that’s difficult to break through). The ideal is an integrated crunch: a crumble scattered throughout, a layer of feulletine at the base, or toasted nuts folded into a mousse. As FlavorSum’s 2024 predictions indicate that texture is evolving beyond simple contrasts to more complex layers, mastering this basic principle is more important than ever.
The following data highlights just how critical texture has become in the modern consumer’s perception of a great dessert, often being as important as the flavor itself. This is confirmed by an analysis of recent bakery trends.
| Texture Profile | Consumer Preference % | Application Example |
|---|---|---|
| Contrasting textures | 67% | Crunchy base with creamy top |
| Texture importance in enjoyment | 71% | Multiple textural elements |
| Creamy/velvety descriptors growth | +40% | Smooth mousses and ganaches |
| Layered textures popularity | Rising significantly | Cookies that crack outside but stay gooey inside |
Instead of thinking of texture as an afterthought, design it from the beginning. Ask yourself: “What is the primary texture of my hero component?” If it’s a creamy panna cotta, your next thought must be, “How do I introduce a complementary crunch?”
The ‘Too Many Components’ Mistake That Confuses the Diner
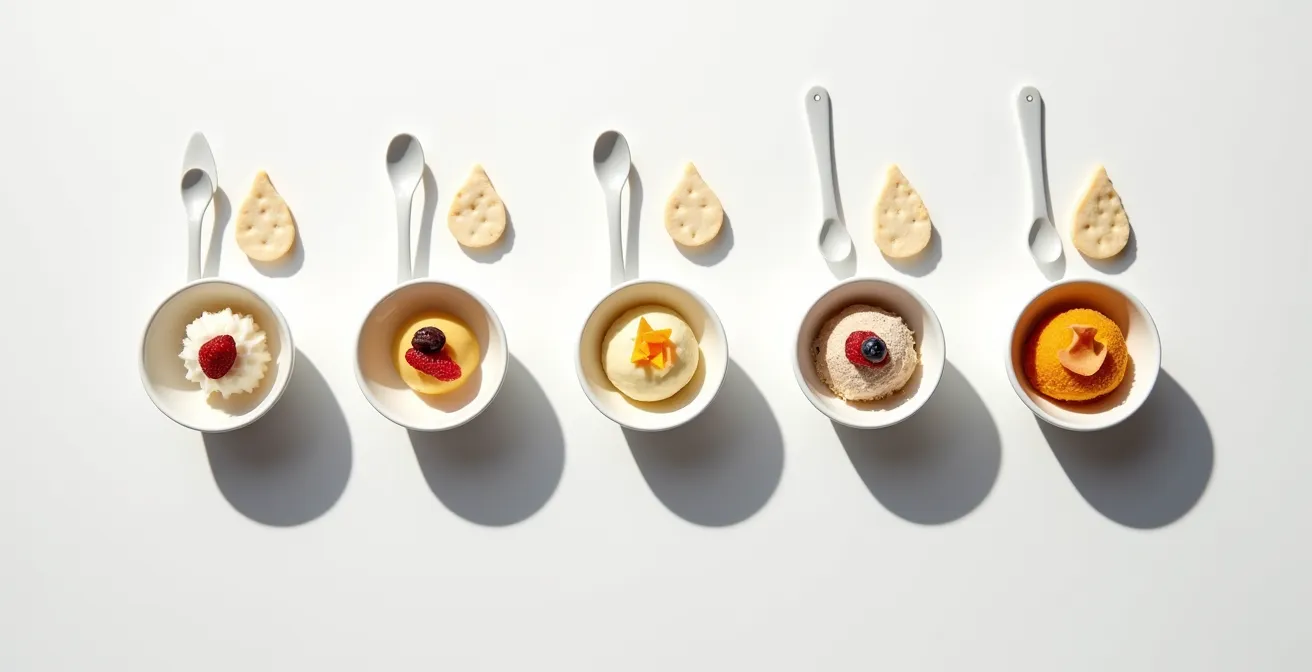
As a passionate student, your instinct is to show off everything you’ve learned. You want to include a fluid gel, a foam, a soil, a tuile, a sorbet, and a confit fruit—all on one plate. The result is a dish that looks impressive in a photo but is an incoherent mess to eat. This is the “too many components” mistake. A diner has a limited sensory budget; they can only consciously register and appreciate a handful of distinct flavors and textures. The professional consensus is that this number is between three and five main components. Anything more creates noise, not complexity.
Each element on the plate must have a clear purpose. It should either support the hero flavor, provide a necessary textural contrast, or add a specific aromatic or temperature difference. If an element doesn’t have a job, it’s fired. This is where your role shifts from creative artist to ruthless editor. The goal is no longer to add, but to subtract until only the essential remains.
Case Study: The Evolution Toward Simplicity
The history of plated desserts shows a clear trend away from complexity for complexity’s sake. Past decades saw towering, architectural constructions that were difficult to eat and often featured elaborate designs on the plate rim that ended up on the diner’s sleeve. The modern approach, as highlighted in professional pastry resources, prioritizes flavor and enjoyment. The philosophy is that a dessert can be both beautiful and delicious without unnecessary components. Successful dishes today avoid monotony but maintain a clear, focused balance, proving that restraint is a key ingredient.
To put this into practice, you need a system. The component elimination test is a powerful exercise to find the essential core of your dessert concept.
Your Action Plan: The Component Elimination Test
- List All Components: Start with your complete dessert concept, listing every single planned element, from the main mousse to the final sprinkle of dust.
- Test by Subtraction: Plate the dessert multiple times, each time removing one component. How does the experience change without the gel? Without the crumble?
- Evaluate Impact: If removing a component doesn’t significantly diminish the overall experience—or even improves it by creating more clarity—eliminate that component permanently.
- Define a Purpose: For every element that remains, ensure it serves a distinct sensory purpose (e.g., this is the acid, this is the crunch, this is the aromatic).
- Verify the Budget: Count your final components. Have you stayed within the 3-5 element “sensory budget” for the main experience?
When to Simplify a Garnish So Your Team Can Plate It During Rush?
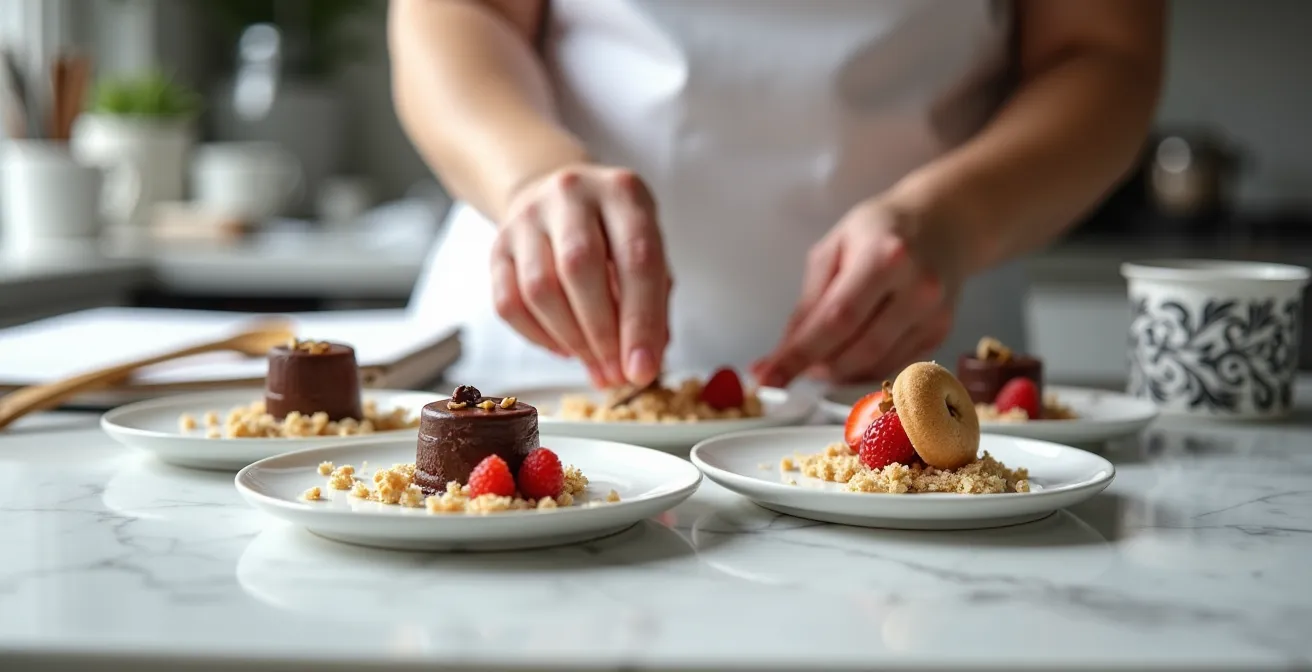
A dessert concept exists in two worlds: the idealized world of your sketchbook, and the high-pressure reality of a restaurant service. A beautiful, intricate garnish that takes you five minutes to assemble in a quiet classroom is a liability during a Saturday night rush when a ticket for a table of eight comes in. Plating for service means designing for speed, consistency, and replicability—without sacrificing beauty.
This is a design challenge. How can you create a stunning presentation that a junior member of your team can execute flawlessly in under 30 seconds? The answer lies in your mise en place. The work is done during the calm of prep time, not in the heat of service. This means creating stable, pre-made components that can be assembled quickly. Think of elements like powders, crumbles, perfectly piped dots of sauce that act as placement guides, pre-cut tuiles, or small, candied fruits. Anything that requires à la minute cooking, carving, or delicate tweezer work for every single plate is a recipe for disaster.

The test for a service-ready garnish is simple: can someone else replicate it perfectly after watching you do it once? If the answer is no, your design is too complex. Use the plate itself as a map. A swoosh of sauce isn’t just decoration; it’s the line on which you place three raspberries. A dot of gel isn’t just a color pop; it’s the anchor point for a shard of meringue. This turns plating from a freehand art project into a quick, repeatable assembly process, ensuring every diner gets the same beautiful experience.
Why Start with Milk Chocolate Before Dark in a Tasting Menu?
Developing a single dessert is one skill; understanding how that dessert fits into a larger culinary narrative is the next level. This principle, known as palate progression, is essential when designing tasting menus or even just a sequence of bites. The guiding rule is to move from lighter, more delicate flavors to richer, more intense ones. In the world of chocolate, this means milk chocolate will almost always precede dark chocolate.
The reason is physiological. Dark chocolate, especially high-cacao content varieties, contains tannins and has a natural astringency and bitterness. These powerful compounds can coat the palate and temporarily numb your ability to perceive more subtle flavors. If you were to eat a potent dark chocolate dessert first, a subsequent milk chocolate dish would taste bland, overly sweet, and one-dimensional. You’ve created “palate burnout.” By starting with the gentler, creamier, and more subtle notes of milk chocolate, you allow the diner to appreciate its complexities fully before moving on to the more robust and challenging profile of dark chocolate.
Case Study: Palate Progression in Classic Pâtisserie
Professional pastry programs and classic French tradition strictly follow the principles of palate progression. This is evident in multi-course dessert tastings and even within a single, complex creation like an opera torte, where layers are carefully sequenced. The established practice is always to move from lighter preparations to more intense ones. This prevents palate burnout, a state where the powerful astringency of a dominant flavor, like dark chocolate, makes it impossible to detect the nuance in a subtler one that might follow. Serving milk chocolate before dark is a foundational technique to ensure each component of the experience is tasted as intended.
As diners become more sophisticated, this understanding of flavor sequencing becomes a key differentiator. In fact, industry data from 2024 shows that younger generations are actively seeking out complex, multi-layered taste experiences, making thoughtful progression more important than ever. This principle applies beyond chocolate—start with citrus before caramel, vanilla before coffee, and so on.
How to Create Chocolate ‘Soil’ Using Maltodextrin?
Part of your development as a pastry chef involves building a toolbox of modern techniques. Chocolate “soil” is a versatile component that adds a unique, light, powdery texture and intense flavor to a plate. While there are many ways to make a crumble, using tapioca maltodextrin—a modified food starch derived from tapioca—is a classic molecular gastronomy technique that transforms any high-fat ingredient into a light powder.
The science is simple: maltodextrin has a unique ability to absorb oils. When blended with a high-fat ingredient like melted chocolate or nut butter, it encapsulates the fat, turning the liquid into a fluffy, solid powder. What makes it magical is that as soon as the powder hits your tongue, the saliva dissolves the maltodextrin, instantly releasing the fat and flooding your palate with the pure flavor of the original ingredient. It’s a surprising and delightful textural transformation. The process requires precision but is straightforward with a food processor.
To create a professional-quality chocolate soil, follow these steps:
- Control Temperature: Gently melt your chocolate and let it cool to room temperature. If it’s too hot, it will melt the maltodextrin and create a paste.
- Mind the Ratio: Start with a ratio of approximately 60% maltodextrin to 40% melted chocolate by weight.
- Pulse, Don’t Blend: Use a food processor and pulse the mixture. Continuous blending generates heat and can make the mixture clump.
- Adjust as Needed: If the mixture seems too wet or pasty, add a little more maltodextrin, one tablespoon at a time, until a light, fluffy texture is achieved.
- Sieve for Finesse: For the lightest, most uniform texture, pass the finished powder through a fine-mesh sieve.
- Store Properly: Store the soil in a completely airtight container. Because it’s designed to absorb fat, it will also readily absorb moisture from the air, causing it to clump.
While maltodextrin provides a unique result, it’s helpful to understand how it compares to other methods of creating a “soil” or crumble texture.
| Method | Texture Result | Equipment Needed | Melts in Mouth |
|---|---|---|---|
| Tapioca Maltodextrin | Light, fluffy powder | Food processor | Yes – instantly |
| Dehydrated Mousse | Crispy, airy | Dehydrator | Slowly dissolves |
| Toasted Nut Flour + Cocoa | Sandy, grainy | Basic mixing bowl | No – remains gritty |
| Crumbled Cookies | Chunky, varied | None | Partially |
Key Takeaways
- A successful dessert is built on a “hero flavor,” with all other components serving only to enhance it.
- Ruthless editing is your most powerful tool; a dessert with 3-5 focused components is stronger than one with ten.
- Design for the reality of service: a beautiful plating design must be replicable in under 30 seconds.
The ‘Negative Space’ Rule That Instantly Makes Plating Look Expensive
You’ve done the hard work: your flavors are balanced, your textures contrast beautifully, and your components are service-ready. The final step is the presentation. The most common mistake students make is trying to fill the entire plate. The secret to elegant, high-end plating is not what you put on the plate, but the empty space you leave around it. This is the principle of negative space.
Think of the plate as a canvas. In art and design, negative space is the area around and between the subjects of an image. It’s not just “empty”; it’s an active element of the composition that draws the eye to the focal point. By intentionally leaving a large portion of the plate clean, you create a sense of luxury, confidence, and focus. It communicates that the components you *did* place are so special they don’t need to be crowded by clutter. This approach is standard in fine dining, where, as 2025 restaurant trends data indicates that plates are treated as canvases to explore shapes and colors in an artful way.
To use negative space effectively, follow a few simple design rules:
- Use a Larger Plate: A slightly oversized plate automatically creates more negative space and gives your dessert room to breathe.
- Plate Off-Center: Avoid placing your dessert directly in the middle. Use the “rule of thirds,” placing the main component at an intersection point for a more dynamic, visually interesting composition.
- Create Flow and Movement: Use a swoosh of sauce, a line of crumble, or an arrangement of fruit to guide the diner’s eye across the plate toward the main event.
- Keep the Rim Clean: The rim of the plate is the frame for your art. It should always be immaculately clean. No smudges, no drips, no decorative powder.
This minimalist philosophy requires confidence. It’s a declaration that your dessert’s flavor and texture are so good, they don’t need to hide behind elaborate decoration. It’s the final step in your journey from a chaotic sketch to a focused, professional, and elegant plated dessert.
You now have the professional framework to guide your creativity. The next time you feel overwhelmed by ideas, take a breath, pick one hero, and begin the ruthless, rewarding process of refinement. Go back to your sketchbook, not to add more, but to start building a single, perfect concept with focus and intention.