Chocolate Recipes
Few ingredients inspire as much joy and creativity in the kitchen as chocolate. Whether you’re craving the fudgy richness of brownies, the elegance of chocolate truffles, or the comforting warmth of molten lava cakes, chocolate recipes offer endless possibilities for both novice bakers and experienced pastry enthusiasts. Yet working with chocolate requires more than simply following a recipe—understanding how different types behave, mastering essential techniques, and knowing which flavors complement this beloved ingredient can transform your results from good to extraordinary.
This comprehensive resource will guide you through everything you need to confidently create chocolate desserts at home. From selecting the right chocolate for your recipe to avoiding common pitfalls that can ruin your creations, you’ll discover the foundational knowledge that makes the difference between a disappointing dessert and one that earns rave reviews. Let’s explore the world of chocolate baking together.
Understanding Different Types of Chocolate for Baking
Not all chocolate is created equal, and choosing the right type dramatically impacts your final result. The cocoa percentage determines not only flavor intensity but also sweetness, texture, and how the chocolate behaves when heated. Understanding these differences helps you select the perfect chocolate for each recipe.
Dark Chocolate: Intensity and Depth
Dark chocolate contains anywhere from 50% to 90% cocoa solids, with minimal added sugar. This makes it the preferred choice for recipes where you want a pronounced chocolate flavor without excessive sweetness. Brownies, chocolate ganache, and sophisticated desserts benefit from dark chocolate’s complex, sometimes slightly bitter notes. When selecting dark chocolate, consider that higher percentages create more intense flavors but can also make desserts less sweet—a 70% dark chocolate will taste markedly different from a 55% variety.
Milk Chocolate: Creamy and Approachable
With added milk solids and higher sugar content, milk chocolate typically contains 30-50% cocoa solids. Its creamy, sweet profile makes it ideal for cookies, frostings, and desserts intended for those who prefer milder chocolate flavor. Milk chocolate melts beautifully but can be more temperamental than dark chocolate due to its milk content, requiring gentler heat to prevent scorching.
White Chocolate: The Sweet Alternative
Technically not true chocolate since it contains no cocoa solids, white chocolate is made from cocoa butter, sugar, and milk solids. Its buttery, vanilla-forward sweetness pairs wonderfully with berries, citrus, and nuts. White chocolate is particularly sensitive to heat and can seize easily, so extra care during melting is essential. Look for quality brands that use real cocoa butter rather than vegetable oils for the best results.
Essential Techniques for Working with Chocolate
Even the finest chocolate can be ruined by improper handling. These fundamental techniques ensure your chocolate performs exactly as intended in your recipes.
Melting Chocolate Properly
The golden rule: low and slow. Chocolate scorches easily, developing a grainy texture and bitter taste when exposed to high heat. The double boiler method remains the most reliable approach—place chopped chocolate in a heatproof bowl set over simmering (not boiling) water, ensuring the bowl doesn’t touch the water. Stir occasionally until smooth. Alternatively, microwave chocolate in short 15-20 second bursts at 50% power, stirring between intervals. Even a single drop of water can cause chocolate to seize into a lumpy mass, so keep all utensils completely dry.
Tempering for Professional Results
Tempering creates that satisfying snap and glossy finish you see in professional chocolates. This process involves carefully melting chocolate to specific temperatures, then cooling and reheating it to stabilize the cocoa butter crystals. While tempering isn’t necessary for most baked goods (since the chocolate will be incorporated into batters), it’s crucial for chocolate decorations, dipped treats, and homemade candy bars. The process requires a thermometer and patience, but the professional-looking results are worth the effort.
Incorporating Chocolate into Batters
When adding melted chocolate to cake or brownie batters, temperature matters. Adding piping hot chocolate to cold eggs can cause the eggs to scramble, creating an unpleasant texture. Let melted chocolate cool slightly—it should feel warm but not hot to the touch. Conversely, if chocolate cools too much and begins to solidify, it won’t incorporate smoothly. Finding this sweet spot ensures a uniform, velvety batter.
Popular Chocolate Recipe Categories
The versatility of chocolate shines through the incredible variety of desserts you can create. Understanding these main categories helps you choose the right recipe for any occasion.
Chocolate Cakes and Brownies
These baked classics range from light, airy chocolate cakes to dense, fudgy brownies. The key difference lies in the ratio of fat to flour—brownies typically contain more butter and chocolate relative to flour, creating their characteristic dense texture. Chocolate cakes can be further divided into styles: devil’s food cake (extra moist and tender), flourless chocolate cake (intensely chocolatey and naturally gluten-free), and molten lava cakes (with their signature liquid center). Each requires different techniques, from the creaming method for cakes to the simple stirring method many brownies employ.
Chocolate Cookies and Bars
From chewy chocolate chip cookies to crispy chocolate wafers, this category offers something for every texture preference. The variables that control texture include butter temperature (softened vs. melted), sugar types (brown sugar adds chewiness while white sugar creates crispness), and baking time. Cookie bars like chocolate blondies or seven-layer bars provide the convenience of slicing portions rather than shaping individual cookies—perfect for feeding crowds.
No-Bake Chocolate Desserts
When you want chocolate satisfaction without turning on the oven, no-bake options deliver. Chocolate truffles, pots de crème, chocolate mousse, and refrigerator cakes rely on chilling rather than baking to set. These recipes often highlight chocolate’s pure flavor since heat doesn’t alter its characteristics. No-bake desserts are particularly valuable during hot weather when running an oven is impractical, and many can be prepared days in advance.
Chocolate Confections and Candies
Homemade chocolate candies—fudge, bark, peanut butter cups, and chocolate-covered treats—allow for endless customization. These recipes often require tempering (for shelf-stable candies) or refrigeration (for simpler versions). The advantage of making your own is complete control over ingredients and sweetness levels, plus the ability to create flavor combinations unavailable in stores.
Common Mistakes When Baking with Chocolate
Even experienced bakers encounter challenges when working with chocolate. Recognizing these common pitfalls helps you avoid frustration and wasted ingredients.
The most frequent mistake is overheating chocolate during melting, which causes it to become grainy, separated, or scorched. Always use gentle, indirect heat and remove chocolate from heat before it’s completely melted—residual heat will finish the job. Another common issue is moisture contamination: even a tiny amount of water causes chocolate to seize into an unusable paste. Ensure all bowls, spatulas, and utensils are bone dry.
Substitution errors also plague chocolate recipes. Using cocoa powder when a recipe calls for melted chocolate (or vice versa) dramatically alters the fat content and moisture balance, leading to dry, crumbly results or overly dense textures. If you must substitute, understand that 1 ounce of chocolate equals approximately 3 tablespoons of cocoa powder plus 1 tablespoon of fat, though this isn’t always perfect.
Overbaking is particularly problematic for fudgy chocolate desserts like brownies. Because of their dark color, it’s difficult to judge doneness visually. Instead, rely on other cues: a toothpick inserted near the center should emerge with a few moist crumbs (not wet batter) for fudgy results. Remember that carryover cooking continues even after removing items from the oven, so slightly underbaking often yields better texture.
Flavor Pairings and Creative Combinations
While chocolate shines on its own, strategic flavor pairings elevate your recipes from ordinary to memorable. Understanding complementary flavors helps you customize recipes or create your own signature desserts.
Classic pairings remain popular for good reason. Chocolate and mint offers refreshing contrast, perfect for brownies, cookies, or frosting. Chocolate and orange creates sophisticated depth—try adding orange zest to chocolate ganache or cake batter. Salted caramel and chocolate has become ubiquitous because salt enhances chocolate’s flavor while caramel adds buttery sweetness and textural contrast.
Nuts provide both flavor and texture: almonds bring subtle sweetness, hazelnuts offer earthiness, and pecans contribute buttery richness. Toasting nuts before adding them to recipes intensifies their flavor significantly. For adventurous bakers, spices open new dimensions—cinnamon adds warmth, cayenne pepper creates subtle heat, and cardamom contributes exotic floral notes.
Fruits complement chocolate beautifully: raspberries and strawberries provide tartness that balances sweetness, while cherries offer classic sophistication. Dried fruits like cranberries or apricots add chewy texture and concentrated flavor. Even unexpected pairings like chocolate and olive oil (which creates incredibly moist cakes) or chocolate and coffee (which intensifies chocolate flavor without tasting like coffee) can transform your baking.
As you explore chocolate recipes, remember that baking is both science and art. The techniques and knowledge presented here provide your foundation, but don’t hesitate to experiment, adjust sweetness to your preference, and develop your own favorite combinations. Whether you’re preparing a simple batch of chocolate chip cookies or attempting an elaborate layered chocolate torte, understanding your ingredients and techniques gives you the confidence to create chocolate desserts that bring joy to everyone who tastes them.
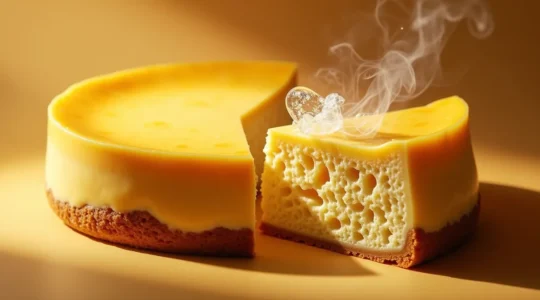
Why Does Low-Fat Cream Cheese Ruin the Structure of Baked Cheesecakes?
You followed the recipe, but your attempt at a lighter cheesecake resulted in a soupy, grainy mess. The problem isn’t just that low-fat cream cheese has more water; it’s a catastrophic failure of food science. Full-fat cream cheese creates a…
Read more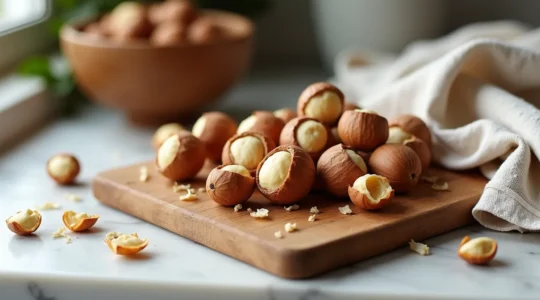
How to Perfectly Peel Hazelnuts: The Pro-Chocolatier’s Guide to Texture and Flavor
In summary: Perfectly peeling hazelnuts isn’t the goal; it’s the first step in controlling flavor and texture like a professional chocolatier. Roasting at 350°F (175°C) for 10-15 minutes is the key to unlocking complex flavor compounds (pyrazines) and making skins…
Read more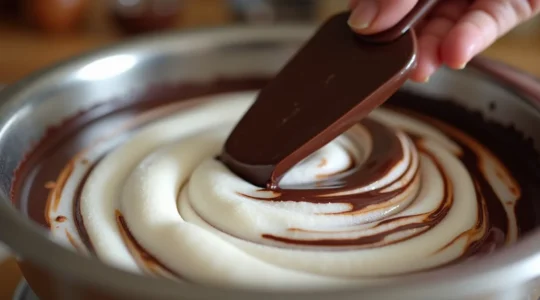
How to Make a Flawless Vegan Chocolate Mousse Without Eggs or Cream
The most common frustration when making vegan chocolate mousse is a grainy or collapsed final product. This isn’t a failure of the recipe, but a misunderstanding of the science. The secret to a light, airy, and stable mousse that rivals…
Read more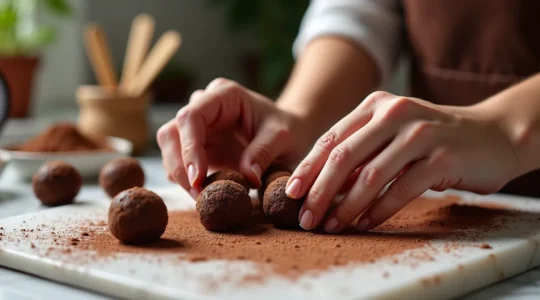
How to Roll Perfectly Round Truffles Without Melting Them in Your Hands
In summary: Your hands aren’t too warm; your technique is wrong. Rolling truffles between your palms transfers maximum heat and creates misshapen results. Mastery comes from thermal control: understanding the precise temperature difference between a chilled center and your hands….
Read more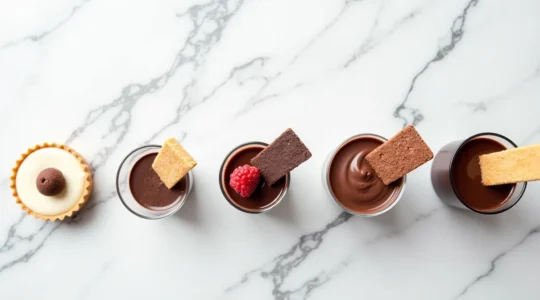
How to Build a Chocolate Dessert Menu That Doesn’t Feel Heavy?
Building a sophisticated chocolate menu isn’t about reducing richness, but about mastering sensory engineering. A successful dessert experience relies on a “palate arc,” guiding the taster from lighter to more intense flavors to prevent sensory overload. Textural and aromatic contrasts…
Read more